Tag

stationary

OCC Rainbow Maker Using Diecuts

By Cards, Planner Stationary & Accessories

Hi All,

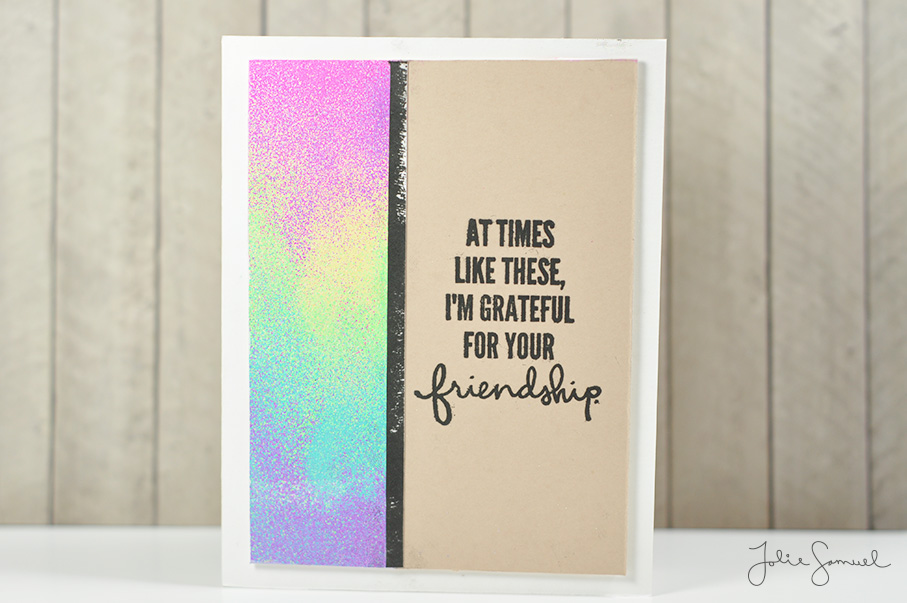
Welcome back! Today’s card for OCC Rainbow maker is touching the subject of die-cuts. I personally do not own a whole lot of the steel die cuts that many crafters and card makers seem to enjoy. Although there are so many out there, I find myself enjoying using a die cutting machine (like the silhouette) to create most of my die-cut images. The one nice perk to using steel dies is that they give a nice softened edge to all your cuts. I wish that was true with the silhouette, but currently, it’s not.

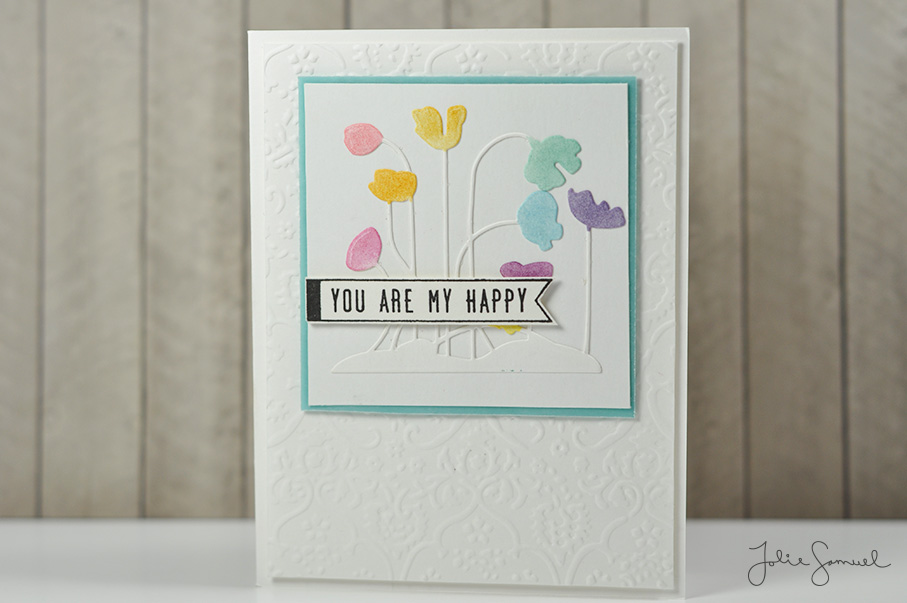
Knowing that I wanted a softened edge I decided to go with one of the few dies I do have. This floral stem die is from spellbinders and is the most delicate die-cut I have ever used. I knew I wanted to keep most of it white and create a lot of white space on the card. But, this is a rainbow maker class and I had to try and create some color. I decided to just ink the edges of each flower. I used a small sponge and tapped them in some distress inks to get these colors. I did try a round of this card using color pencils, which also works great, but I didn’t like seeing all the pencil strokes on my project.

To finish off the card, I mounted the die onto a white panel and sandwiched a piece of turquoise vellum between it and the card base. The base is embossed but kept simple again to give the look of lots of white space.

This card is probably the simplest of cards I have made for this class. I think the results are subtle and liked the overall results.

I hope you join me again tomorrow for another look at a card from my experience with OCC Rainbow Maker. See you then.

OCC Rainbow Maker Using Embossing Powders

By Cards, Planner Stationary & Accessories

Hi All,

Hope you are having a great day and enjoying the cards I’ve been sharing as part of my participation in OCC Rainbow Maker. For today’s card, I decided to take some of the brightest and boldest embossing powders I have and create a rainbow gradient as my colorful background. To do this technique I simply covered a piece of heavyweight cardstock in Versa mark ink (a very sticky ink) and then used my fingers to pinch up some embossing powders and coat parts of the sticky page. I used my fingers as I felt that was the best way to get control on how much powder would fall at different parts of the gradient. They all seemed to blend together perfectly using this method.

I also liked how some of the granules can be seen throughout the card but doesn’t overpower the other colors. For example, you may notice a few grains of pink and purple are in the yellow, but the yellow still stands out on its own.

I really like this technique of embossing and the results it gives. It gives me vibes of a color festival where they throw colored powder up in the air (kind of like the color run marathons in the city).

I hope you enjoyed reading about this technique and I’ll see you again tomorrow with an all new card.


OCC Rainbow Maker-Bonus Card Using Scraps

By Cards, Planner Stationary & Accessories

Hi All,

As you can see, I’ve been busy creating tons of cards with lots of colorful backgrounds and patterns. As I was creating cards and trimming down panels to use on card fronts I ended up with quite a bit of trimmed pieces of paper. As I started to sweep them across my desk, they caught my eye for a second and I knew I had just challenged myself.

I grabbed a piece of white cardstock and laid out the stripes and found that they once again created their own rainbow in a sense. I decided to create a card using them and here’s it is!

If you’ve been following along with the cards I’ve created this past week you may notice bits and pieces from other cards.

I thought it was kinda of a fun concept and just had to share it with my readers.

Thanks so much for stopping by and I’ll be back tomorrow with a new card for rainbow maker.

OCC Rainbow Stamping

By Cards, Planner Stationary & Accessories

Hi All,

I’m back with another technique in rainbow card making to share with you. For this card, I used stamps to create a rainbow effect on the cupcakes. If you look carefully at the icing on the cupcakes you’ll notice that there is a gradient of colors to each one. The first has reds and oranges, the second has orange and yellow, the third has yellow and green, and the last one has blue and purple. The stamps were first pressed into the lighter shade and rolled into the darker shade to create a seamless blending.

To emphasize the coloring even further I added a hue of shading to the cupcake liner and put sequins on the bottom that coordinates with the coloring of the icing for the individual cupcake. To ground the whole image (so it doesn’t look like the cupcakes are floating in the air) I added some gray shading to the bottom of the card. I also added some white frosting embellishments by embossing a layered stamp onto the rainbow inking – it really brings that frosting image to a whole new level. I wish you could see it in person.

To finish off the card I added what I felt was the most suiting sentiment – ‘happy birthday’! I mean who wouldn’t want one of these cupcakes for their birthday?