Tag

holiday card

Holiday Cards – Day 1

By Cards

Hi All,

Welcome back! As you may have known, I’ve been on quite the holiday card kick. I spent the last few posts working on cards for Merry Making for Online Card Classes. Now, I am onto a new series! I’m excited to say for the first year, I will be creating 25 posts (that’s 3 posts a week) that will lead us all the way up to Christmas 2017! Each week I will be posting up new projects every Monday, Wednesday, and Friday.

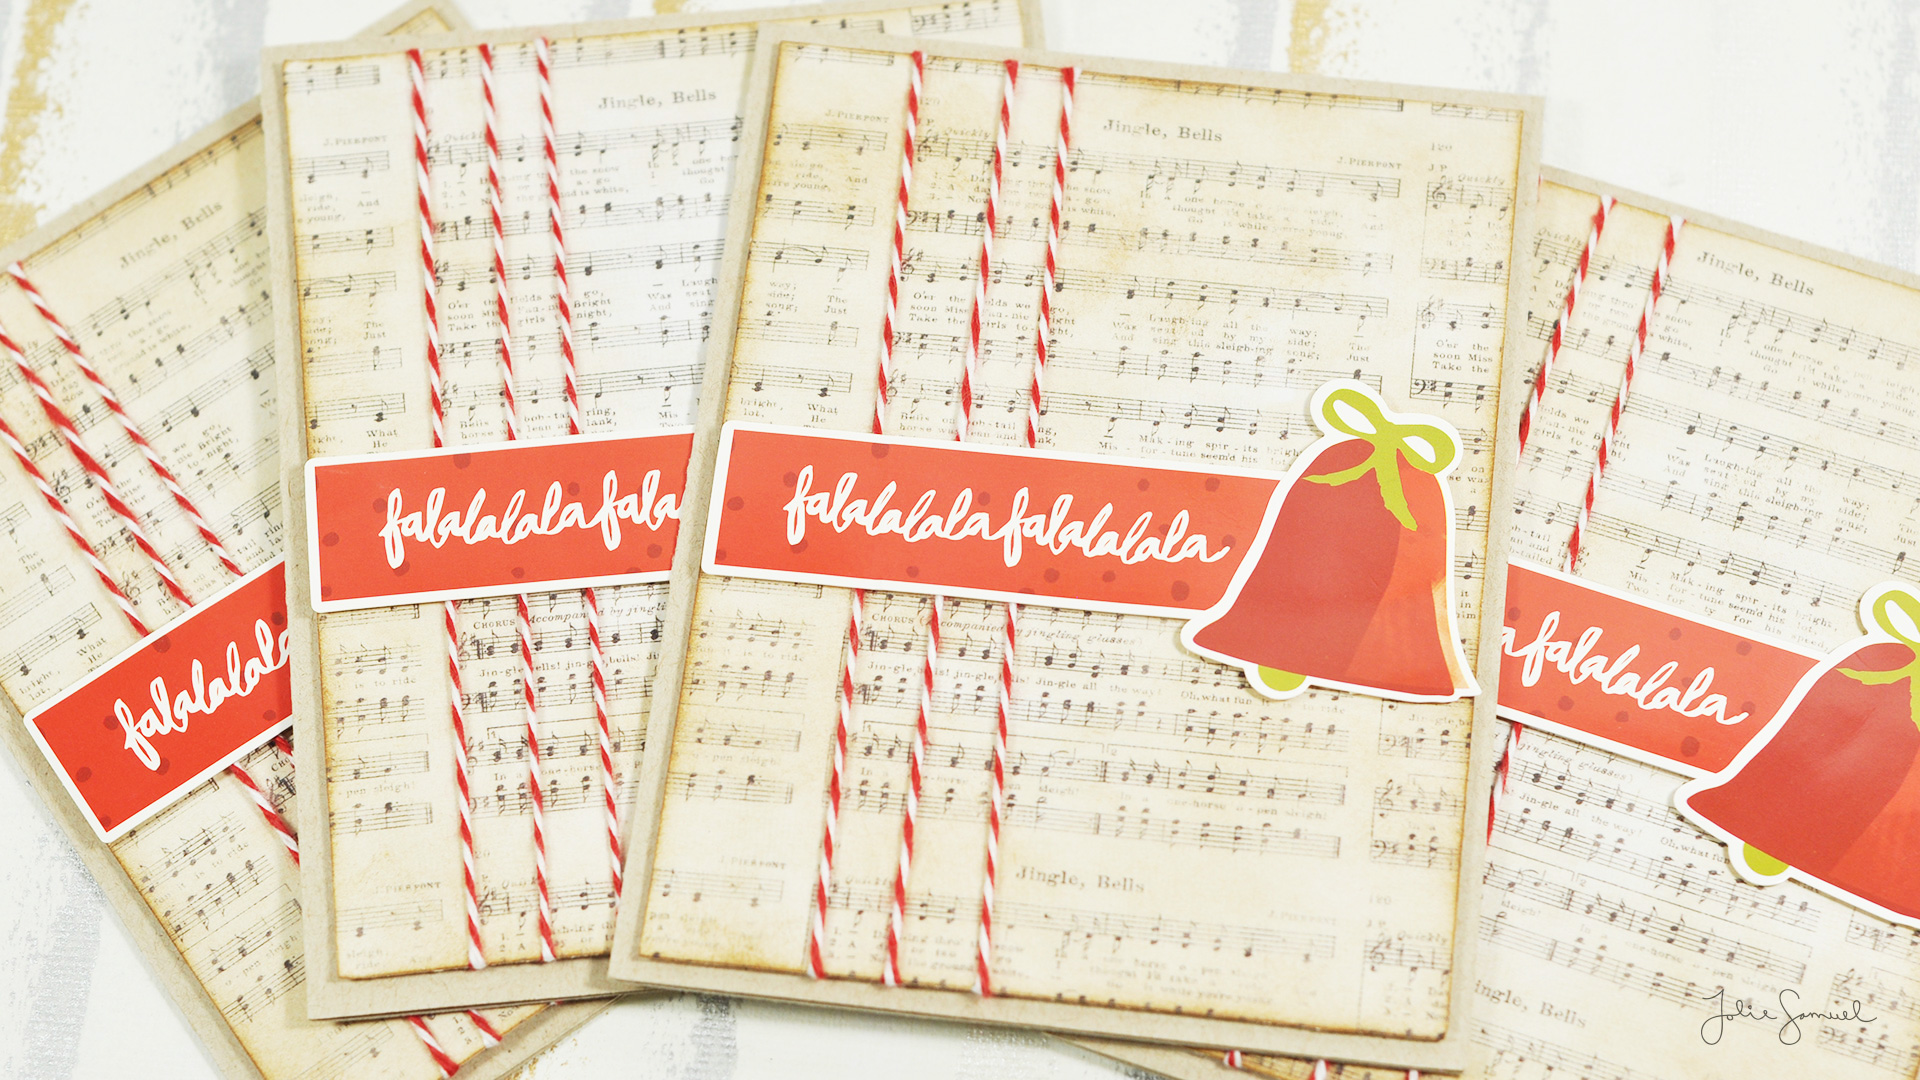
For this card, I wanted to focus on the very simple concept of background inking. I have a plethora of 6×6 Christmas cardstock and decided to flip through them all and pull out a bunch of sheet music themed papers. As you will see in the video below, I ended up with quite a stack.

The papers are from the following collections:

Old World Winter – The Paper Studio
HS01073 – Heidi Swapp
Noel – American Crafts (I pulled these patterns in the video, but didn’t end up using them)

I used a single cube of Distress Ink in Vintage Photo to ink the sheets so that they coordinated better. To finish off the card I added some red bakers twine and some simple American Crafts embellishments.

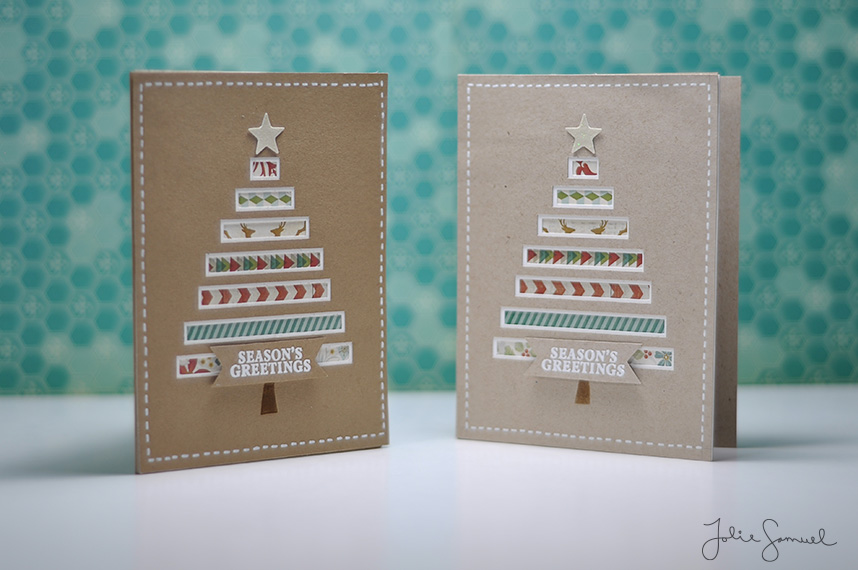
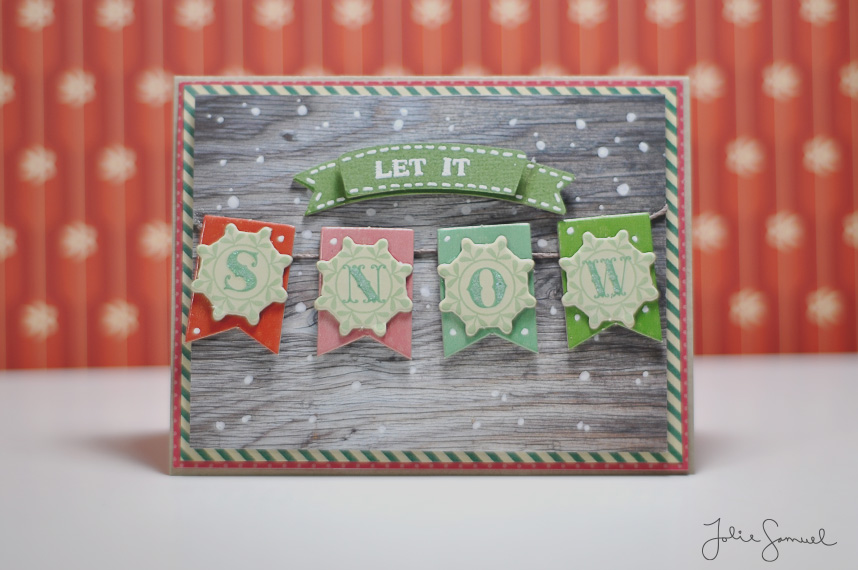
This set coordinates well with a kraft envelope and can be gifted as a set, or sent out individually.

Here’s a video on how it was all created.

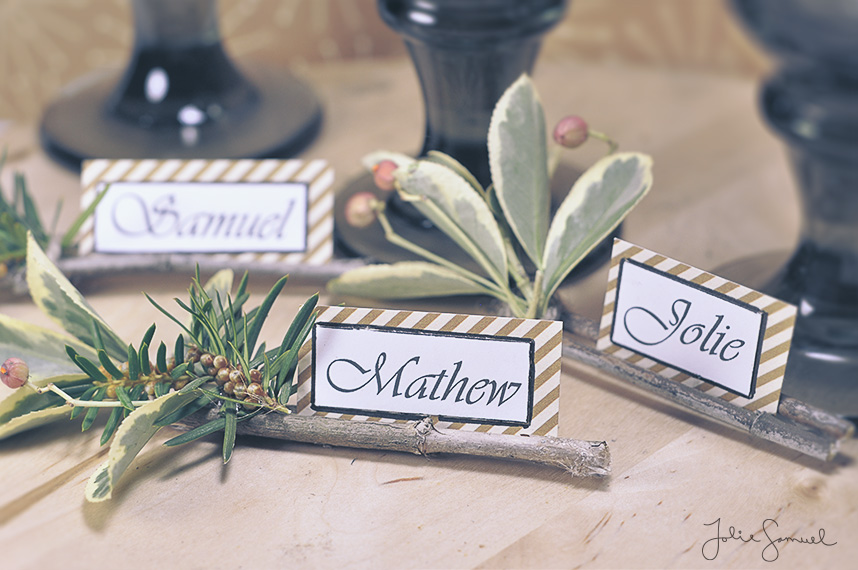
Here’s a closer look at the finished cards.

Holiday Place Card Holder

By Cards

Hi all!

As we quickly approach the start of a beautiful holiday season, I thought I’d share a quick project for those of you who are looking to dress up your table-scape this Thanksgiving (or Christmas). This is a quick and easy idea for those work/dinner/church/just-for-fun type parties coming up this winter.

place_cards

Here’s what you need to do:

Supplies: 

Cutting shears – something that will cut through twigs/small branches

Regular Cutting Scissors

Hot glue gun – or any type of strong adhesive

Paper – holiday themed craft paper

Twine– optional

_______________________________________________________

Step-by-step

1) Grab your cutting shears and head outside and gather up some sticks, branches, pine needles, foliage. Beware of thorns or critters 😉

IMG_20141121_155515

2.) Trim down your branches and foliage to the size you desire.

IMG_20141121_155558

3.) Trim off all those little needles to reveal just a branch. I used branches from pine bushes but if you have a bare tree, those branches work just as well.

IMG_20141121_155700

4.) Trim down the branches to your 3″ – 4″ lengths.

IMG_20141121_160733

5.) “Sandwich” 2 sticks together and adhere with a dot of hot glue on both ends. Add in a small bit of foliage to one side and again adhere with a dot of glue. You can also tie it all in with using twine.

IMG_20141121_163740

*** Note, I’m not sure how long these will sit considering they are made of natural elements. Mine were created over 24 hours ago, and are still in perfect condition.

Hope you give this project a try! Happy Thanksgiving!

Holiday Cards 2014 – Day 2

By Cards

Hi All,

Welcome to Day 2 of my Holiday Cards 2014 series!

seasons_greetings

Today’s card features the use of my Silhouette SD (cutting machine). I contemplated using several different types of Christmas tree-shapes, but ended up using something a little more ‘outside-the-box’. I created a simple rectangular layout and then added in a small insert for a multi-layered look. These cards a super quick and easy to mass produce. The nice thing about this card is that it can technically be made with an craft knife as well (a little more sensible for my readers who don’t own cutting machines).

Here’s a quick how-to video to show you the assembly process.

I love the simplicity of this card and it came together rather quickly. Very chic!

Hope you enjoyed and I’ll catch you next time for Day 3!

Holiday Cards 2014 – Day 1

By Cards

How’s everyone coping with the fact that winter is here?! I’m pretty excited because this season brings about my favorite time of year! To help you get int he spirit of the holiday season and for some I’m happy to bring you a 20-day card series. That’s right, today marks the start of a fun new series in Holiday Crafts!

let_it_snow

For today’s project I used some coordinating holiday papers and die-cuts from Pink Paislee and Crate Paper. I love the way this card looks almost vintage.

To watch the card-making process, check out this quick how-to video.

Hope to see you tomorrow for day 2! Thanks for stopping by =)

Supplies:

Card Base: Neenah Desert Storm

Papers: Pink Paislee 6×6 Snow Village Collection (does not include wood-grain)

Die-Cuts: Crate Paper Stand-Outs – Bundled Up Collection

Stamp: American Crafts – Let it Snow

Ink: Versamark

Embossing Powder: Inkadinkado White Linen

Others: Twine, White gel pen, embossing heat gun