Tag

embossing

Holiday Cards – Day 6

By Cards

Hi All,

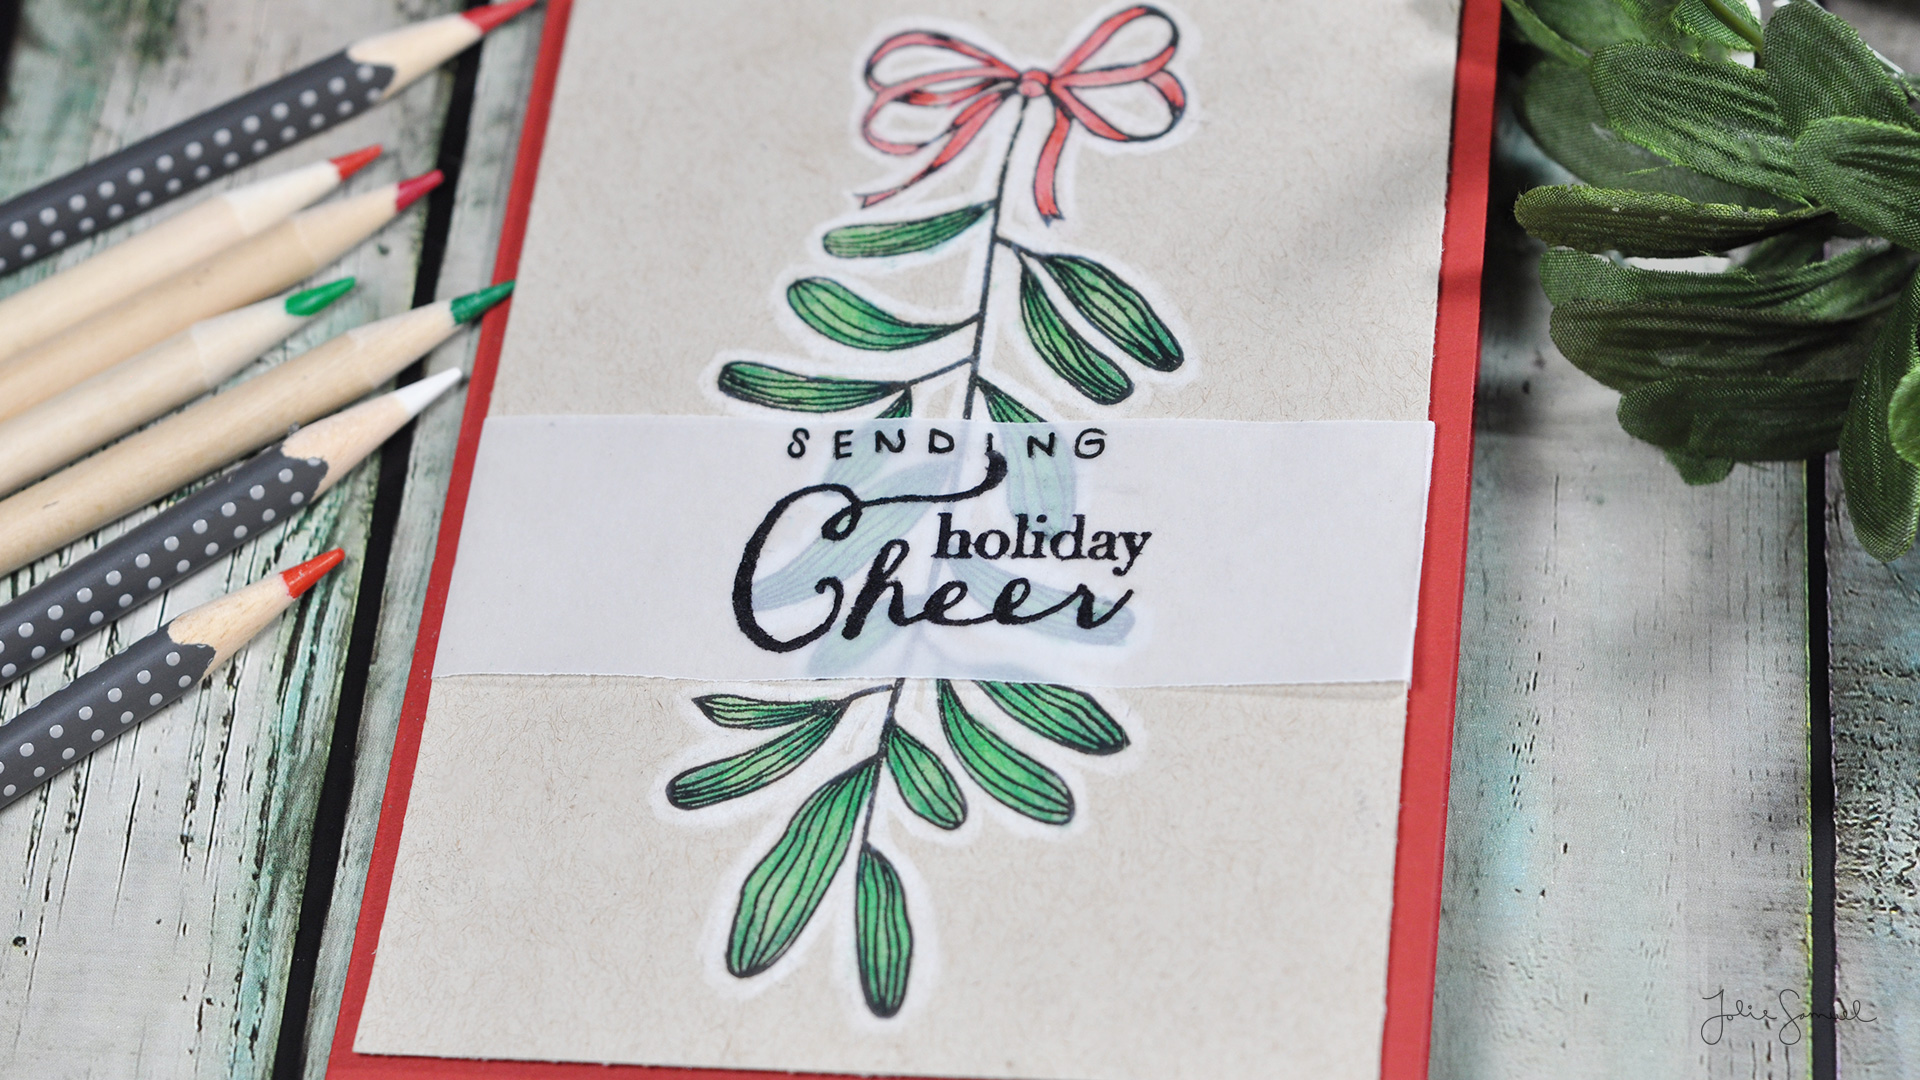
I’m back with another holiday card to share with you. Today’s holiday card was rather simple to make but did take quite a bit of time in terms of coloring. I wanted to spend some time practicing my blending technique with colored pencil and decided to use that as my main medium today.

After coloring the entire image, I used a white pencil to go around the entire outline of the image. I think that really finishes off the coloring and makes the image pop off the page. I also love the look of colored pencil on kraft paper. It looks much more refined this way than simply having it on white.

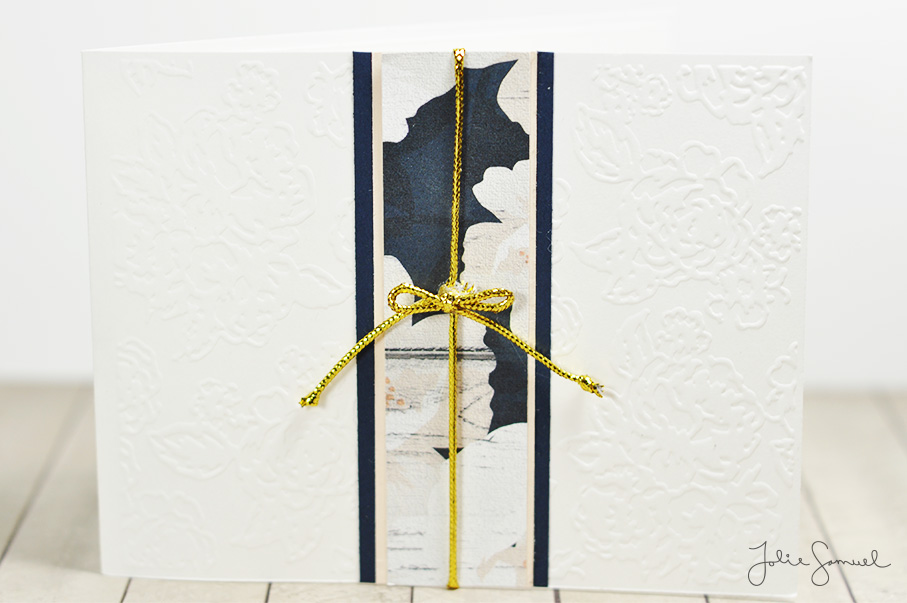
To finish off the card I used a vellum strip with a holiday sentiment. I wanted to use vellum so that I wouldn’t have to really cover up any of my images. I love the way it still peeks through the sentiment and can be seen.

Here’s a look at how it all came together.

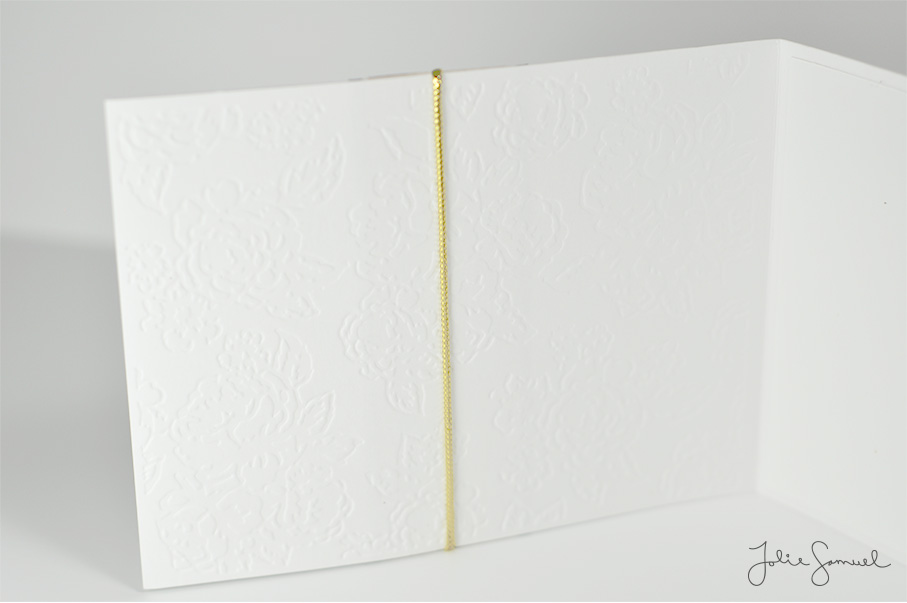
Here’s another look at the finished card.

Thanks so much for stopping by and I’ll see you again real soon with another holiday card!

Holiday Gate-Fold Card Using Embossing and Dies

By Cards

Hi All,

I’m back with another card for OCC Merry Making. For today’s card, I created a gate-fold card that was inspired by a project shared by Jennifer McGuire. She used a gorgeous detailed die to create her background image. Unfortunately, I don’t own very many background dies, so I decided to go with an embossed background instead. To create this background I used a Darice birch wood embossing folder. The folder is really narrow and measures 2.5″ wide so I had to use it twice to create this background. To give some emphasis to the embossing I used Tim Holtz distress ink in Iced Spruce to give a light shadow to the embossing.

The interactive part of the card is very simple. To open the card, you have to remove the red belly band that has a simple holiday greeting. I also stacked several layers of a reindeer head silhouette. Both the sentiment and reindeer are from a Hampton Art set.

The reindeer silhouette was attached to just one side of the folded card so that it opens up to reveal the sentiment, but also closes the card nicely.

I added the coordinating sentiment to the interior of the card and then die-cut it to give it a bit of a border.

To finish off the entire card I added a tiny red gem to the silhouette of the reindeer.

Hope you enjoyed reading about the process of creating this card. I’ll be back tomorrow with my last and final project for OCC Merry Making.

Holiday Card Using Non-Traditional Stamps

By Cards

Hi All,

Welcome back! Today I’d like to share a card I made for OCC Merry Making. This card was inspired by a card demonstration in the class that used non-traditional images to create a holiday card. The demonstration used some non-traditional colors as the card base and I wanted to give that a try as well.

For this card, I used images from 3 different stamps sets. The gold floral embossed image is from Inkadinkado Flowers stamp set. The background tone-on-tone images are from Altenew Vintage Roses and the sentiment is from Little Yellow Bicycle Faith (CSS-104).

I love adding extra embellishments with white gel pen and typically do so by just creating lines or faux stitching. This time I took a note to try some scattered dots similar to the card demo as well. I think using the white is a simple and easy way to bring in some nice contrast.

Here’s a closer look.

Thanks so much for stopping by and I’ll see you again real soon with another project.

Navy and Pink Floral Note Cards

By Cards, Planner Stationary & Accessories

Hi All,

I’m back with another note card to share with you today. I don’t know what it is about this card but it just feels so nautical to me. It doesn’t have any sort of ‘traditional’ nautical elements, but I think the color scheme just plays off that style in many ways. The card has a beautiful gold, navy blue, and soft pink color combination. I typically don’t reach for these colors, but there was something that jumped out at me when I had the navy and pinks sitting near each other on my desk.

Like several cards I have previously shared, I embossed this one too. I can’t seem to get enough of this floral dry embossing. I also have continued the use of the gold cord as you can tell! This time, I decided to make a bow and tie off the loose ends in a simple knot.

Here’s a look at that elegant debossed image on the inside of the card.

Hope you enjoyed another look into my note card series. I’ll be back with another card real soon!