Tag

Card

Watercolor Brush Techniques and Washes – Part 1

By Cards

gems-watercolors

Hi all,

I’ve started up another online card class and this on focuses on watercolor mediums. I’m by no means advanced in this realm, but I thought it would be a great place to start and give myself a bit of a challenge.

Today’s lesson was JAM PACKED with lessons on brush techniques and washes. To practice I decided to go with a color combo I knew blended well from my Sakura Koi palette set. Having a glazing chart really helped for this! See my glazing chart here. I wanted to work with my brush and pigment in a way that would create a gradient. Again I chose the same colors as the day before.

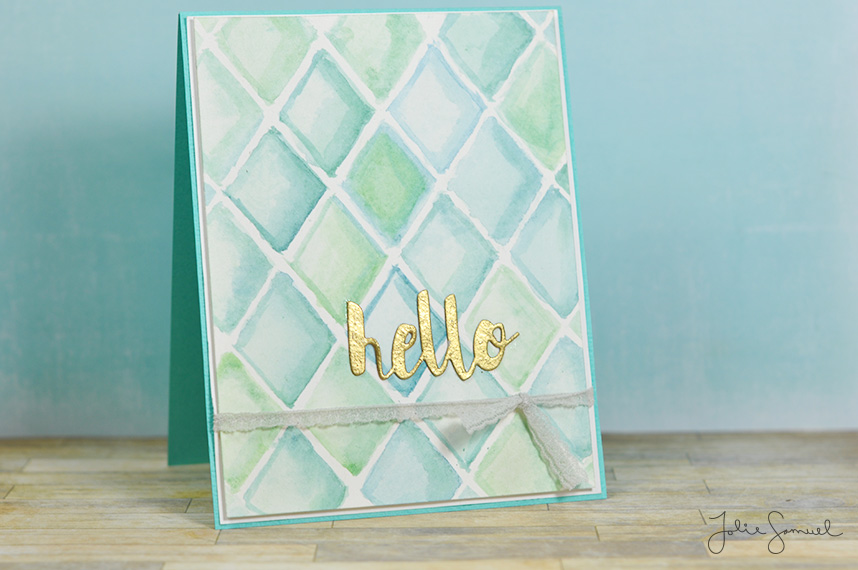
To create the pattern I penciled in a grid using a t-square ruler. When I painted in the color I just made sure not to cover the line, but just come near it. After I knew my paper was completely dry, I erased those lines. Eventually, this created the white space between each diamond.

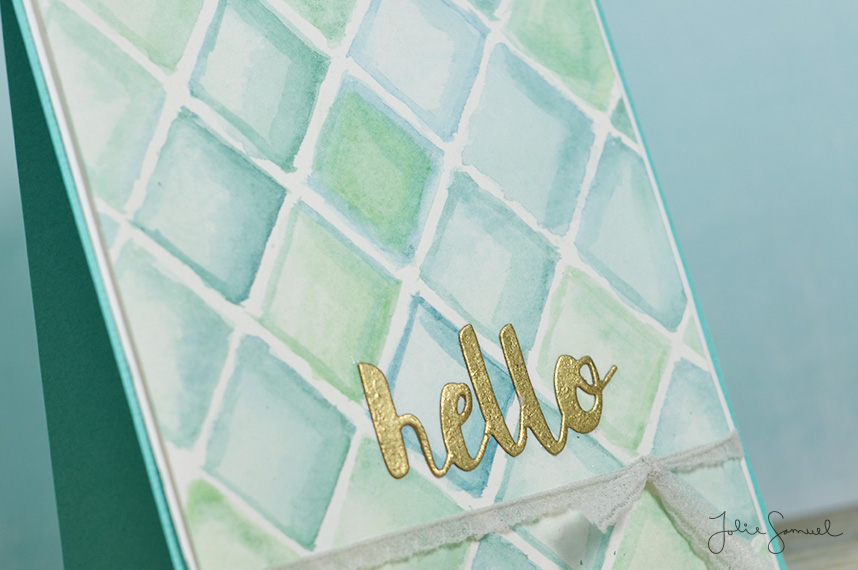
To create the gradient this look I darkened the right side of each diamond. As I continued to work my way through the grid, I made sure to alter the amount of pigment and change the colors a bit so that the piece would not look uniform

The finished look resembles glass or gems.

gems-watercolors2

Washes are very simple to do and take very little time. It also helps when there is structure to the wash. Geometric patterns make for great clean and simple cards. Try it out! Make yourself a geometric pattern using a ruler and a pencil. Then color in the pattern using variations of color. This look can be achieved with color pencils, crayons, paints, markers…the list is endless! Just make one side the light source (lighter) and the other side the shadow (darker). Good luck friends!

Holiday Cards – Classic and Elegant

By Cards

Hi all,

I’m back with another card for the online card class. Today’s theme is to focus on cards that are classic and elegant. There were so many variations of cards today. It was interesting to see how each designer envisions classic and elegant.

For this card I wanted to try a version of a card created by one of the guest designers.

First I sketched out the design of an ornament.

Ornaments1sketchjpg

For this card I needed many small shaped stamps. Here are a few that I pulled from my stash.

OrnamentStamps

I slowly began stamping and filling in my sketch. Here’s the finished project!

ornamentscombocard

I also enjoyed a card made to look vintage and classic and wanted to try that version of cards as well.

ClassicElegant

I love that this class makes me think outside the box and create cards using schemes that normally wouldn’t occur to me. Super fun!

Regal Royal Blue Wedding Card

By Cards

Hi all,

Quite a while back I purchased this Imperial Jewel rubber cling stamp from Stampendous and absolutely loved how massive of a stamp it is. It’s easily a stamp that can be used to create a big ornate background, or an image that can be stamped and colored in (like a coloring book of sorts).

I decided to give it a more regal look by using Glam Gold embossing powder on a navy blue background. It looks so classy!

I then used a ‘hand written’ sentiment by Altenew and finished off the card.

Just look at all that detail in this card. It measures a bit larger than a standard size at 5.5in by 5.5in.

Wedding-Card

Such a beauty! These would also make a fabulous wedding invitation card in the same scheme.wedding-card-2

Thanks so much for stopping by and I hope you enjoyed! Have a fabulous day.

Create a Card – Quilt Inspiration

By Cards

Hi all,

Welcome to a fun new series of cards on my blog! This week I will be creating cards using a photo source. I am a huge fan of Pinterest and love all the inspiration the DIY community shares on it. For quite some time now, I’ve had a board that I call “Design Inspiration”. It’s filled with images or patterns that I believe would make beautiful greeting cards.

For today’s card here’s my inspiration source. (click here if you’d like to see the pinterest link)

bb29c7c822308b13f8bcccedd52d6da6 (1)

When I saw this pattern, I immediately loved the color scheme and the chevron pattern. I knew I’d love to use some of my pattern papers to fill the chevron and an intricate embossing folder for the white piece. I had to do quite a bit of template designing on my silhouette cutting machine to create the chevron pattern but I love the results.

Here’s my card created from the quilt photo!

design_inspiration_1

Let me know if you’re interested in obtaining the template I used. I’d be happy to share it with those who are interested! =)