Hi all,
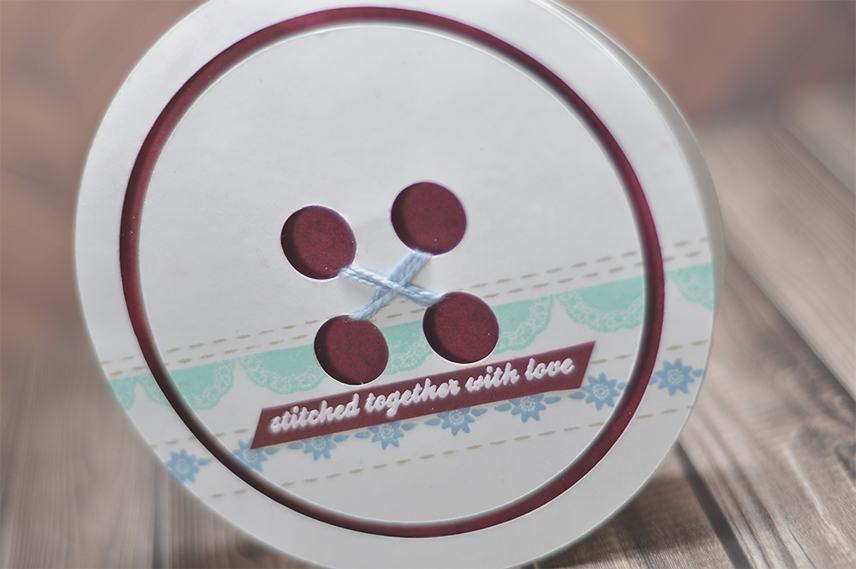
Today’s card features an inky background using a technique taught in class called direct-to-paper inking. The concept is to use white (or any neutral color) card stock and press your ink pad directly to the paper. This technique works great with pigment inks so that you end up with a nice smooth & even tone once the ink dries. On my card I used this technique to get that purplish/red tone card stock.
For this card, all elements were cut using a silhouette cutting machine. To achieve a solid red/purple background I pressed my ink pad directly to paper until the ink soak through to create a solid ‘faux’ colored card stock. Note: This process needs A LOT of drying time. Rushing the process will get you inky fingers & and dirty card (ask me how I know – ugh)! In the process of letting everything dry, I made a bit extra ‘card stock’ to use towards heat embossing my sentiment. Next, to create some dimension I used foam adhesive behind the white circles to pop them up off the card base. To finish off the card I just used some simple border stamps and coordinating ink colors for an embellished stamp design.
I love the fact that this card features a sewing theme. I’ve been searching for a way to use up some of my sewing sentiments!