Category

Room Decor

Fan-Fold Valentine’s Day Garland

By Cards, Room Decor

Hi All,

I am a person who likes change. I embrace it. I like having seasonal weather (although I could do with a little less snow), I like swapping beauty products in and out, and I especially like changing up our house when it comes to decor.

Christmas is definitely my most favorite holiday. I actually get a little sad when we have to take our tree down and put away all of the wreaths. So to brighten up a few corners of the house I created some quick decor.

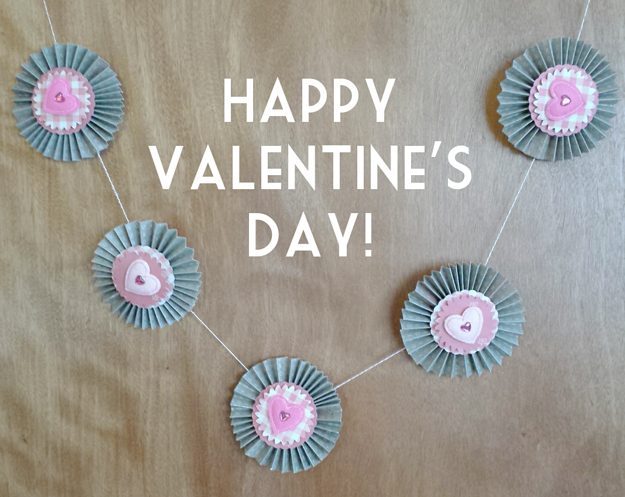
Here’s a quick look at a garland I made around valentine’s day.

Each Circle was created using good crate paper fourteen collection (notice how it’s covered in x’s and o’s).
I used my silhouette cutting machine to create a scalloped circle and the inner flower shape as well.
The hearts are stitched embellishments that I added for a little extra pizzazz.

Then, I just strung them up on some bakers twine and made a few more to create a garland.
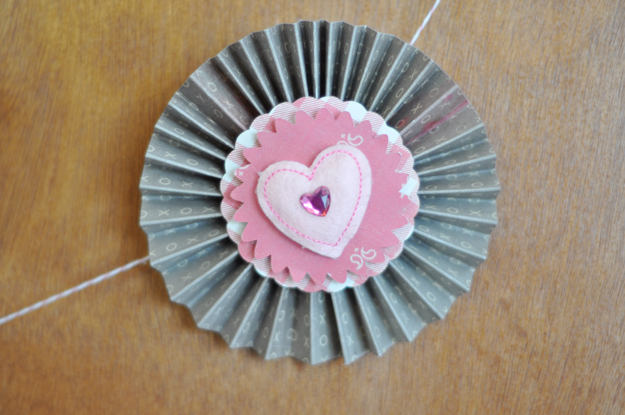
HeartCircle

I created 2 different designs. One with a lighter pink embellishment and one with a darker pink embellishment. I also switched the pattern papers on the backgrounds. Notice how they are reversed depending on the type of embellishment? …it’s the little things.
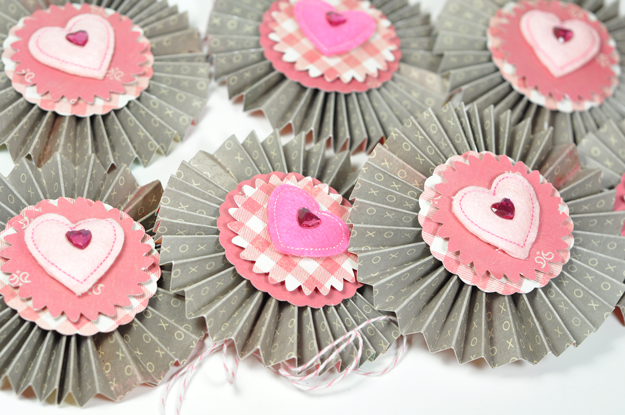
HeartsGarland

Here’s a close up of those x’s and o’s
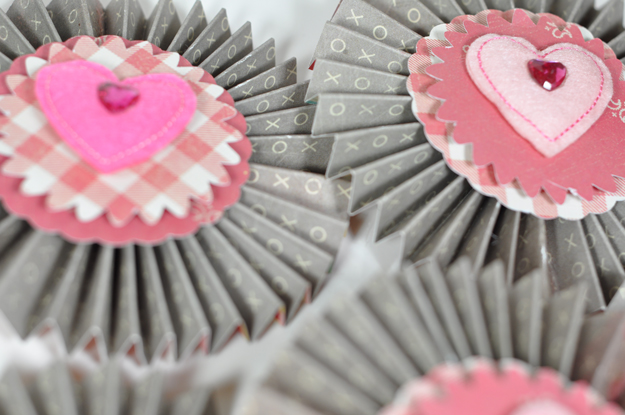
xoxofeature

And here it is all hung up on the craft room door.  I probably could have done a better job on spacing when it came to putting them on the twine, but I didn’t really care considering it was just for my own personal enjoyment. haha – I put way more effort into stuff I giveaway! =)
HeartBanner_String

Anyway, I hope you enjoyed and feel free to leave comments =)

Have a great day all ~JS


Ice Skate Ornament

By Cards, Planner Stationary & Accessories, Room Decor

Hi All,

For today’s project I wanted to do an altered project. Altered projects in the craft world mean you take an item that is otherwise ordinary and…well.. alter it. =)

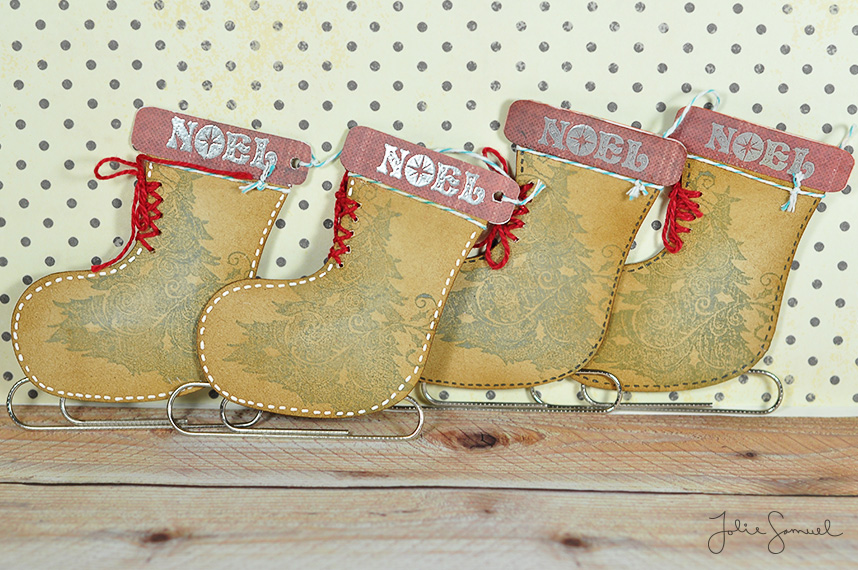
This project involved some large size paperclips that attached to the bottom of these stockings to create ice skates. I then inked the edges and stamped a vintage tree image. For additional dimension I hand stitched some laces with red floss and embossed a ‘noel’ sentiment to the cuff. I think these would look absolutely darling off a christmas tree or attached to  a little wreath.

noel_skates

Magnetic Display Clips Galore!

By Craftroom Storage, Planner Stationary & Accessories, Room Decor

Hi All,

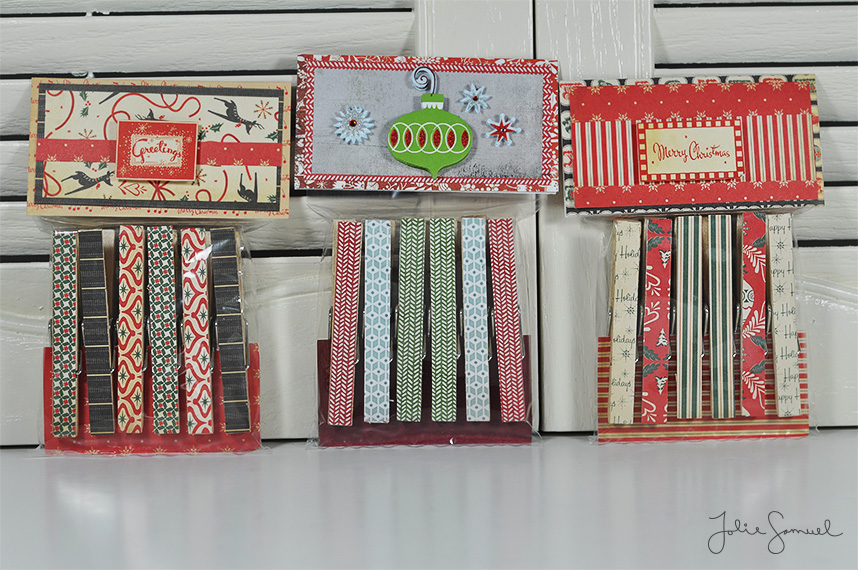
Every year around the holiday’s I seem to become a hoarder. I love to display and keep a majority of the cards and photos we receive and pin them up on the fridge or a mirror to enjoy throughout the season. I’m sure this year will be no different…but now I am prepped with these cute clips rather than dull, plastic, geometrically shaped magnets. Each of these clips have a magnetic back and are so fun to look at.

I have WAY more than what is displayed here. Look out for these at the upcoming craft fair and on Etsy.

Decorative Magnet Clips

Thrifting Treasures!

By Craftroom Storage, Room Decor

Hi all,

Today I have something a little outside the “norm” for my blog. As some of my friends know, lately I have been into visiting the thrift store to look for projects I can refurbish. I already finished several projects and they have been a hit with friends. As I begin to do more projects, I have decided to document them on the blog to show you just how awesome a little do-it-yourself project can turn out.

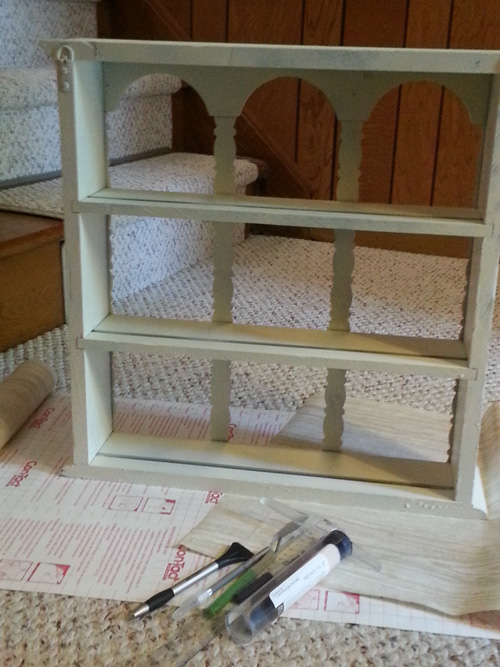
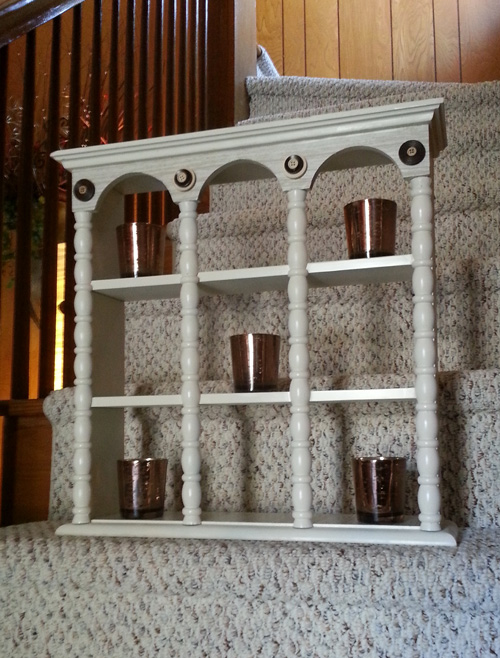
For today’s thrift store find, I found this beautiful shelf at my local thrift store.

Shelf Before - prepped to paint

It was in great condition and had just a few minor distressed marks on it. I thought it gave the piece a little character and didn’t mind them at all. I used some lemon all purpose cleaner to remove some debris and dust. I didn’t need to sand it or do any additional work.  Truly, it was in ready-to-paint condition. I gave it about two coats of white spray paint.

Shelf Painted - Ready for embellishments

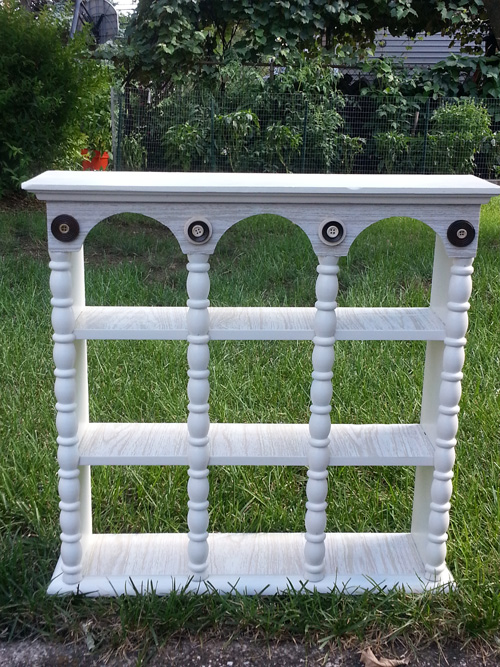
Thankfully the paint dried pretty quickly and the fumes faded out in a few hours. Next, I used some contact paper and embellishments to dress up the entire unit.

Shelf - All Finished!

Here it is! I can’t believe how easy this project was for me. Usually there is some serious back-end work involved before I can get a refurbished piece to look this way. I’m quite happy with this piece and think it looks just as fabulous in person.

Shelf - After

If you’re interested in some unique pieces for your home – check out the local thrift store. You never know what you’ll find!

Happy thrifting!

-Jolie