Category

Cards

Holiday Cards – Day 4

By Cards

Hello All,

Welcome back to another day of Holiday cards. I hope you’re enjoying following along with all the little projects I’ve been making.

One of my favorite things to do when designing cards are to create a simple layout that can easily be duplicated. Today’s cards are a prime example of easy to duplicate styles.

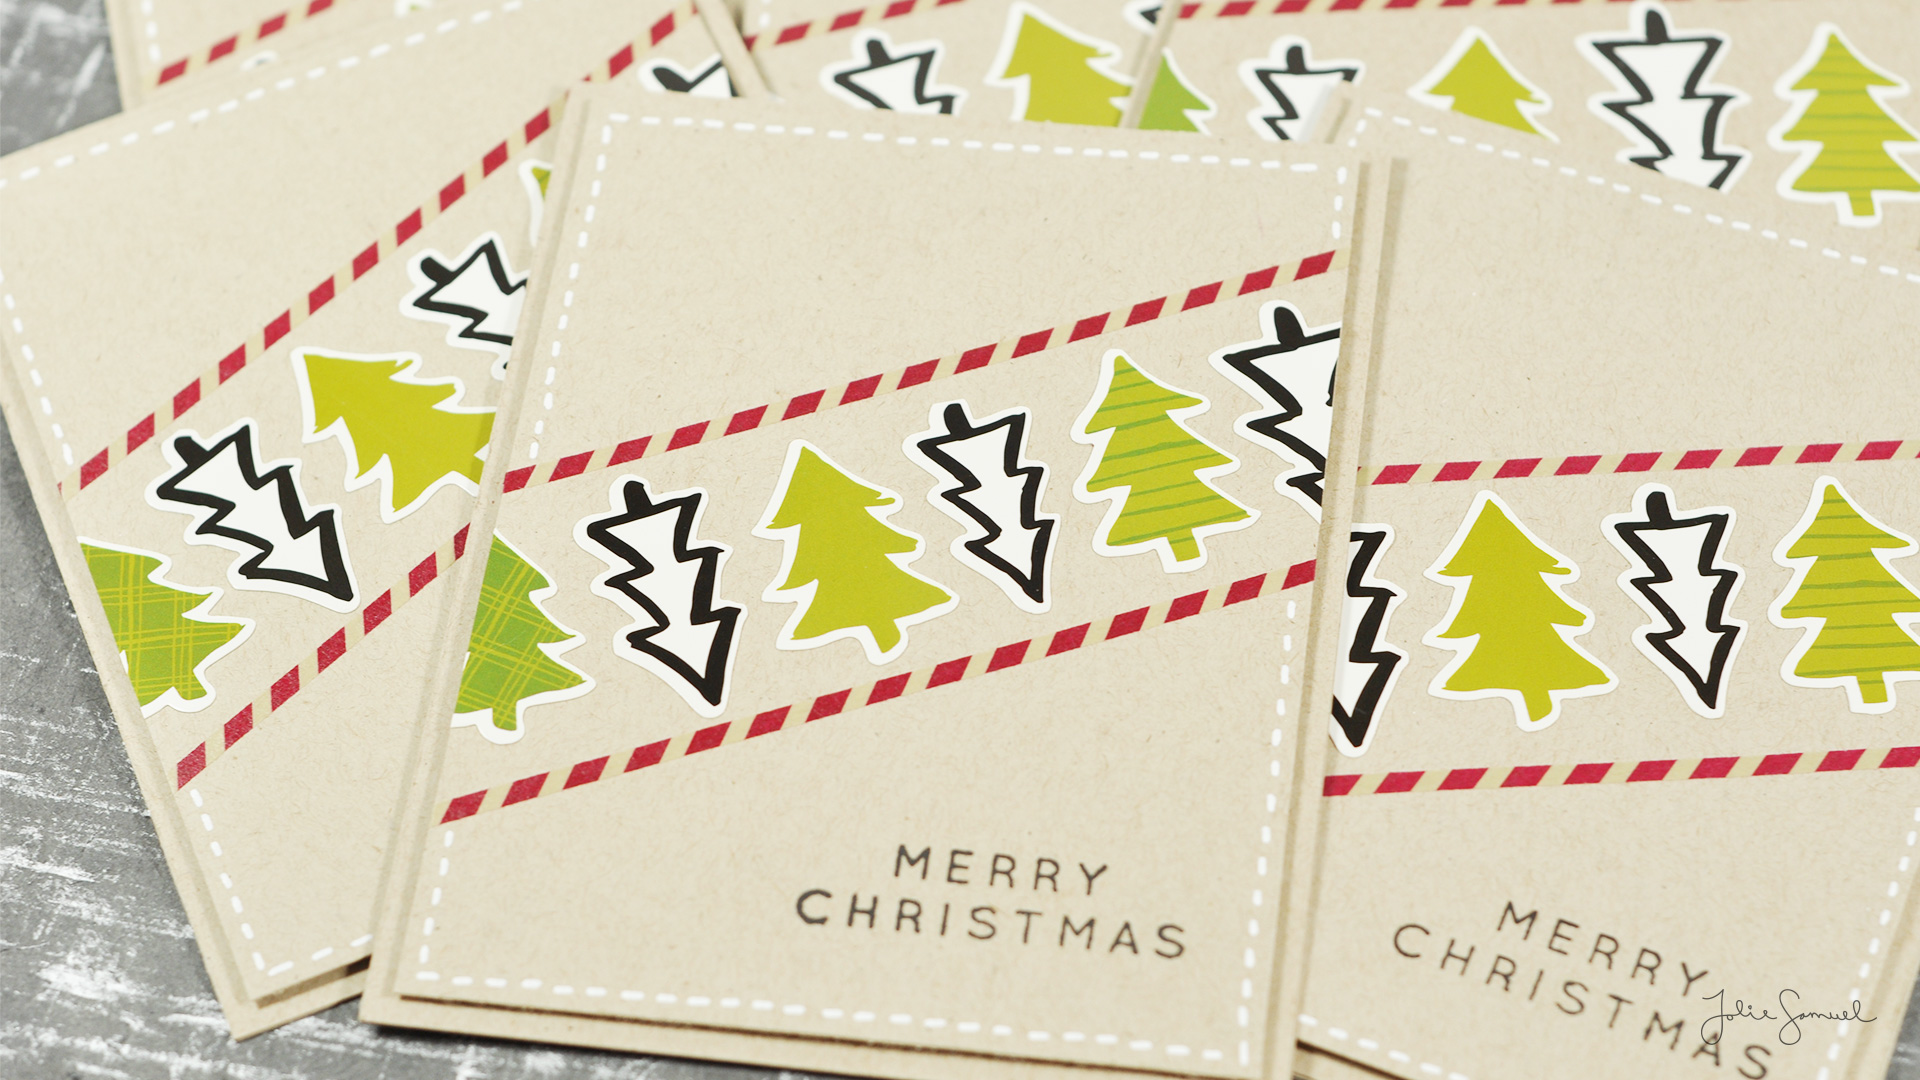
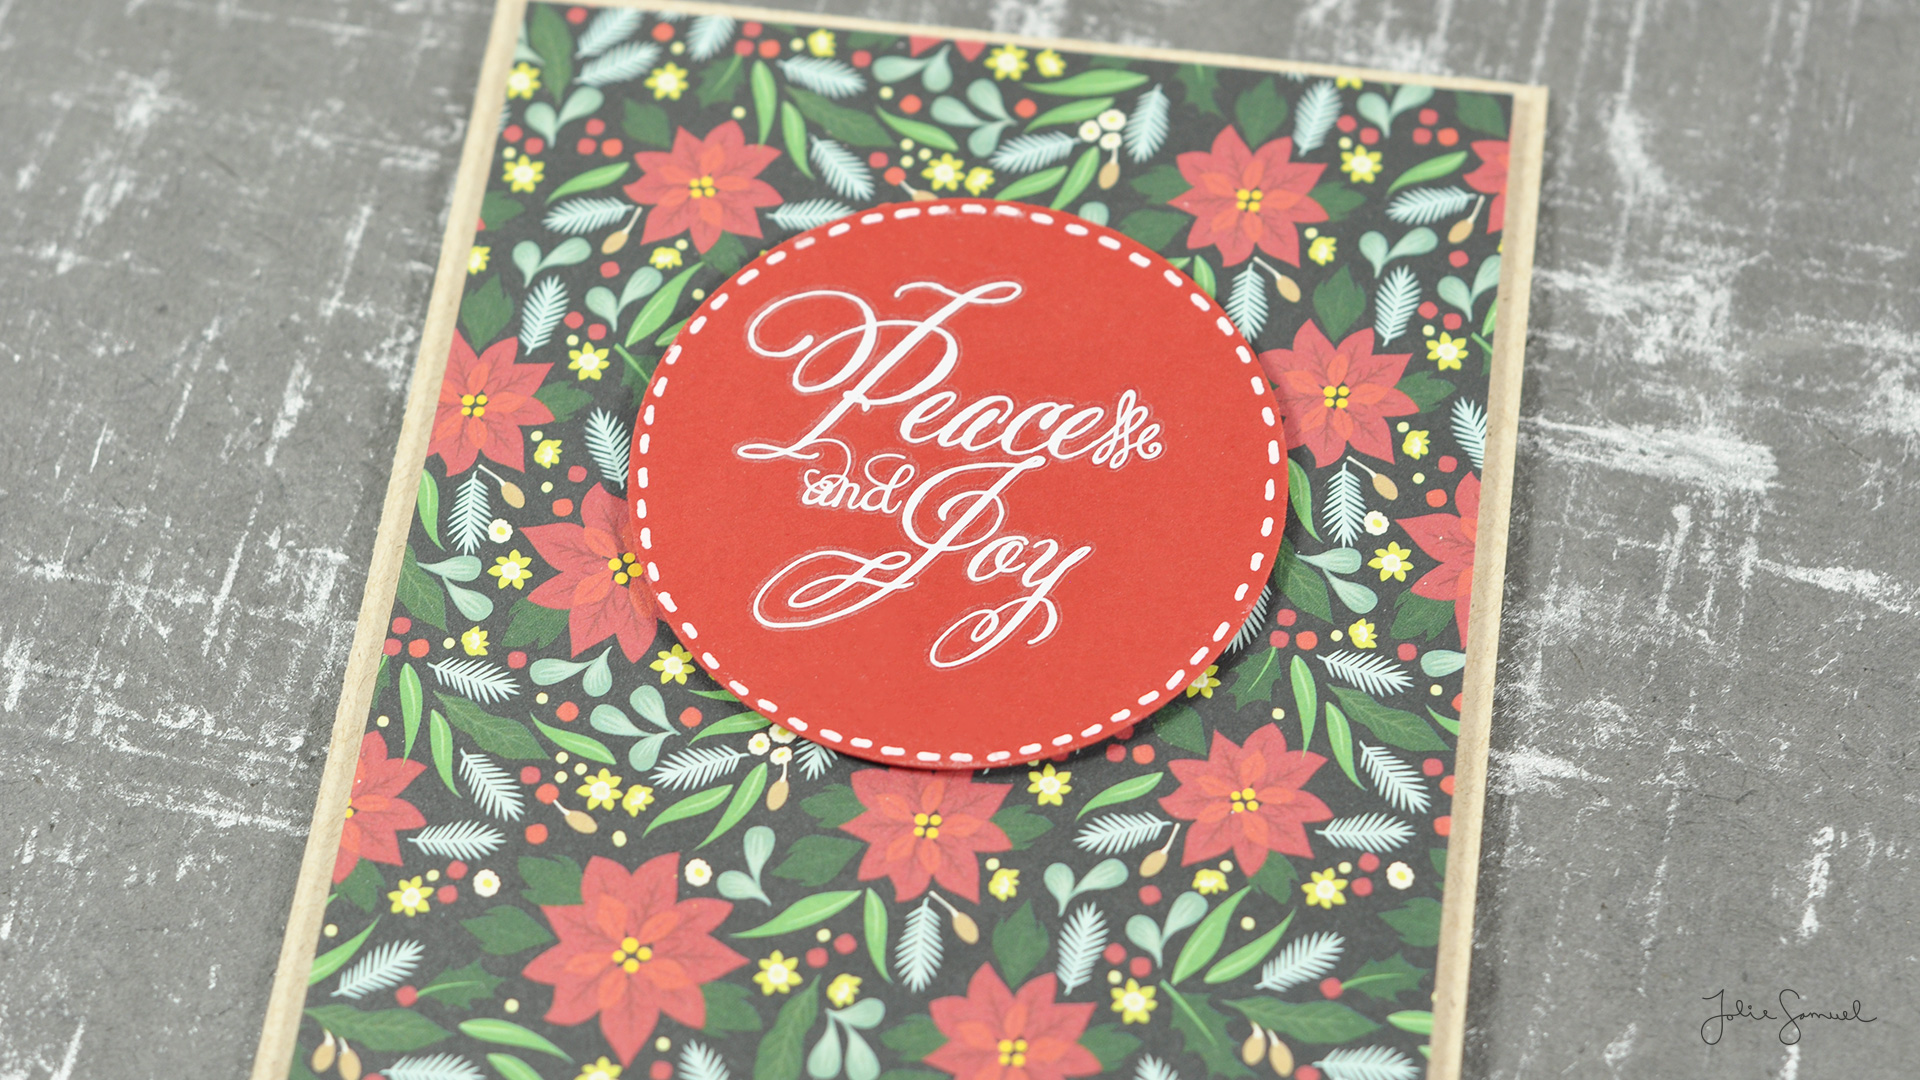
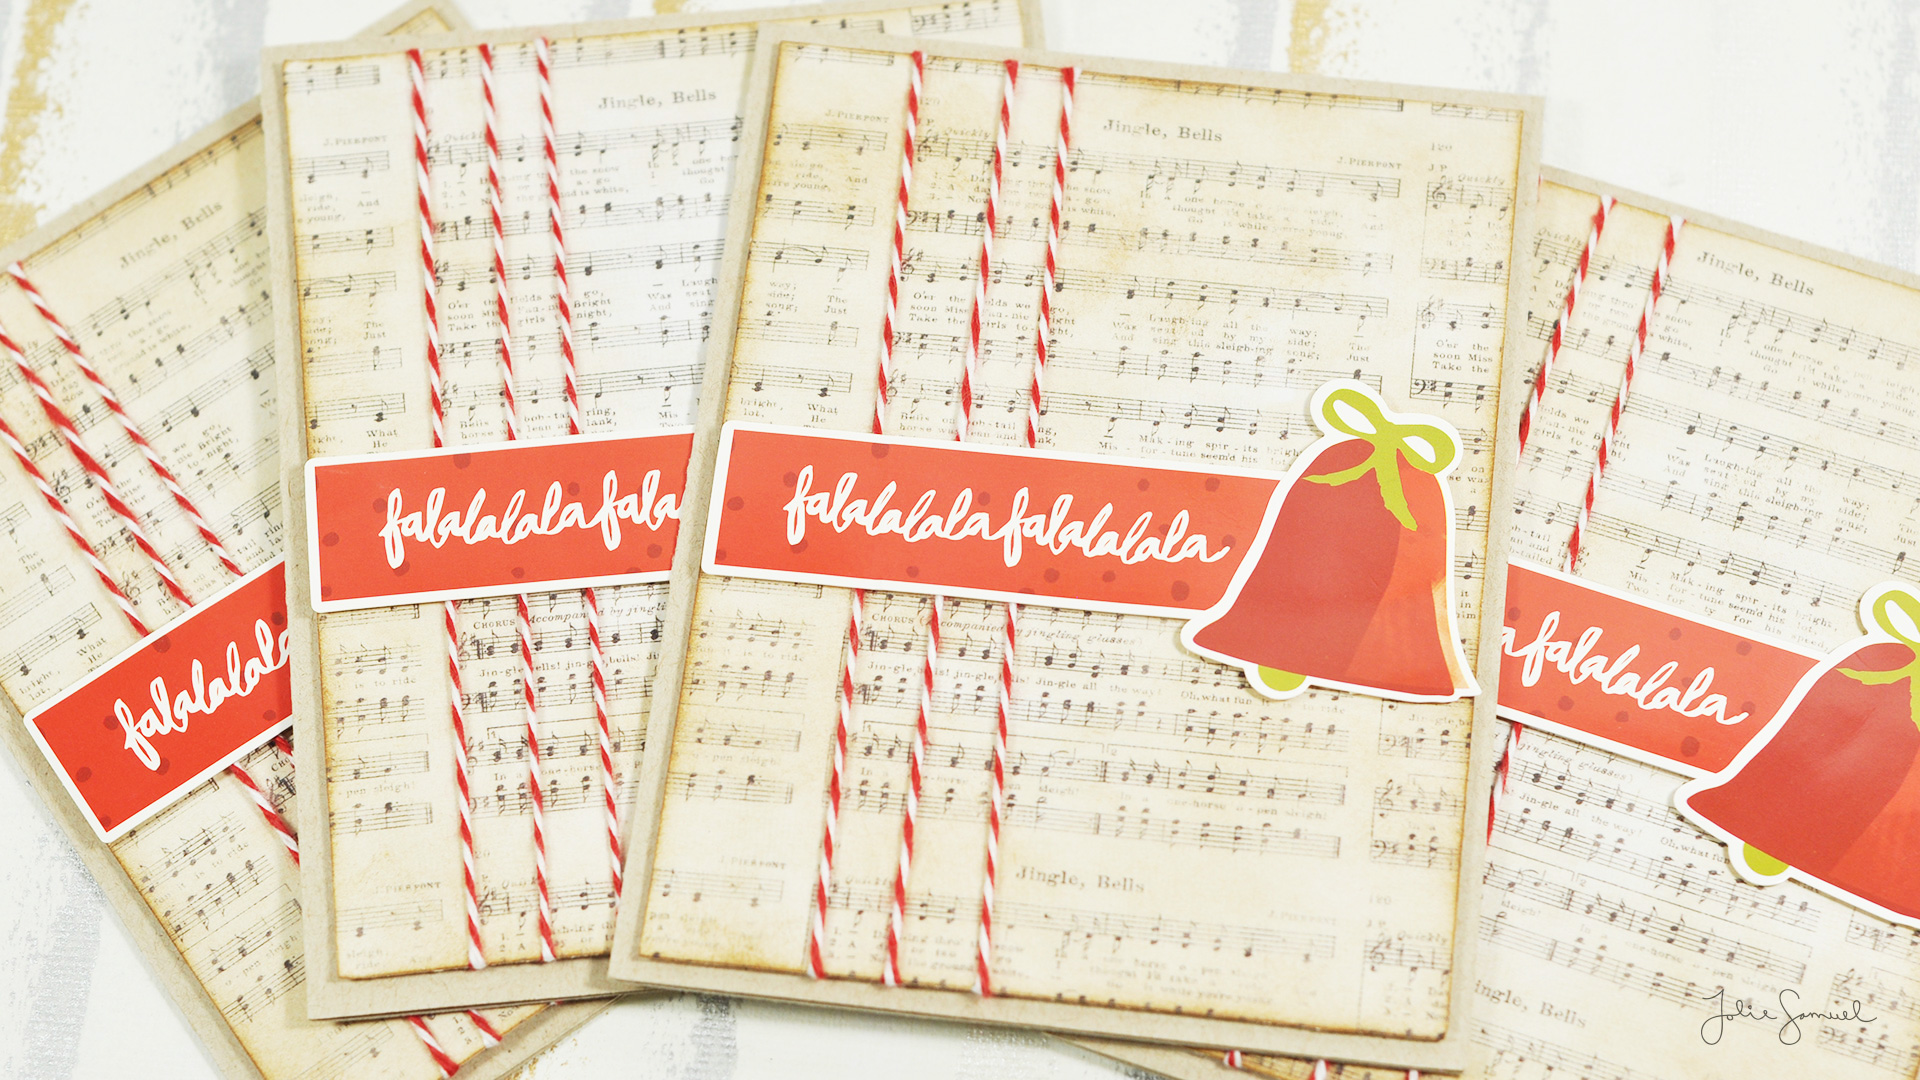
For these cards, I used minimal supplies. I used a nice thin washi tape that reminds me of a candy stripe. I then added several coordinating stickers that are beautifully opaque and thick from American Crafts. I found the collection to have many styles and patterns that I liked — so I decided to create several variations of cards.

Here’s a look at how quickly they came together.

Here’s a look at all the cards created from this washi and sticker project day!

Thanks so much for stopping by and I’ll see you again real soon with all new projects.

Holiday Cards – Day 3

By Cards

Hi All,

I’m back with another clean and simple holiday card. I used some extra fine clear embossing powder with a simple sentiment to heat emboss a tone-on-tone look. I also choose to use some woodgrain embossed cardstock as a card base, I love the overall vintage feel of this card.

Here’s a look at how it all came together.


Holiday Cards – Day 2

By Cards

Hi All,

I’m back with another day of holiday-themed cards. I wanted to continue using up some of my 6×6 paper stacks and decided to go with one of my all-time favorite ways of adding a sentiment to cards. I used some rub-on appliques from Little Yellow Bicycle. I love the opaque results an applique can give to a card and it is a no-mess solution as well. I like to cut up an applique sheet and separate the images so that I don’t transfer any images I don’t want accidentally. There are many tools out there that are designed to help get the image on, but honestly, a simple craft stick will work just as well.

To finish off the card I made a faux stitched white line using a gel pen. I think this is a great way to create some beautiful cards for the holidays with minimal supplies needed.

Here’s a quick video on how it all came together.

Here’s a closer look at the finished cards.

With the extra bit of paper trimmed from the background, I created an additional card. I used the same stitched line around the edge and added a simple sentiment from the paper stack.

Thanks so much for stopping by and I’ll see you again real soon for another project.

Holiday Cards – Day 1

By Cards

Hi All,

Welcome back! As you may have known, I’ve been on quite the holiday card kick. I spent the last few posts working on cards for Merry Making for Online Card Classes. Now, I am onto a new series! I’m excited to say for the first year, I will be creating 25 posts (that’s 3 posts a week) that will lead us all the way up to Christmas 2017! Each week I will be posting up new projects every Monday, Wednesday, and Friday.

For this card, I wanted to focus on the very simple concept of background inking. I have a plethora of 6×6 Christmas cardstock and decided to flip through them all and pull out a bunch of sheet music themed papers. As you will see in the video below, I ended up with quite a stack.

The papers are from the following collections:

Old World Winter – The Paper Studio
HS01073 – Heidi Swapp
Noel – American Crafts (I pulled these patterns in the video, but didn’t end up using them)

I used a single cube of Distress Ink in Vintage Photo to ink the sheets so that they coordinated better. To finish off the card I added some red bakers twine and some simple American Crafts embellishments.

This set coordinates well with a kraft envelope and can be gifted as a set, or sent out individually.

Here’s a video on how it was all created.

Here’s a closer look at the finished cards.