Category

Cards

Holiday Cards – Day 8

By Cards

Hi All,

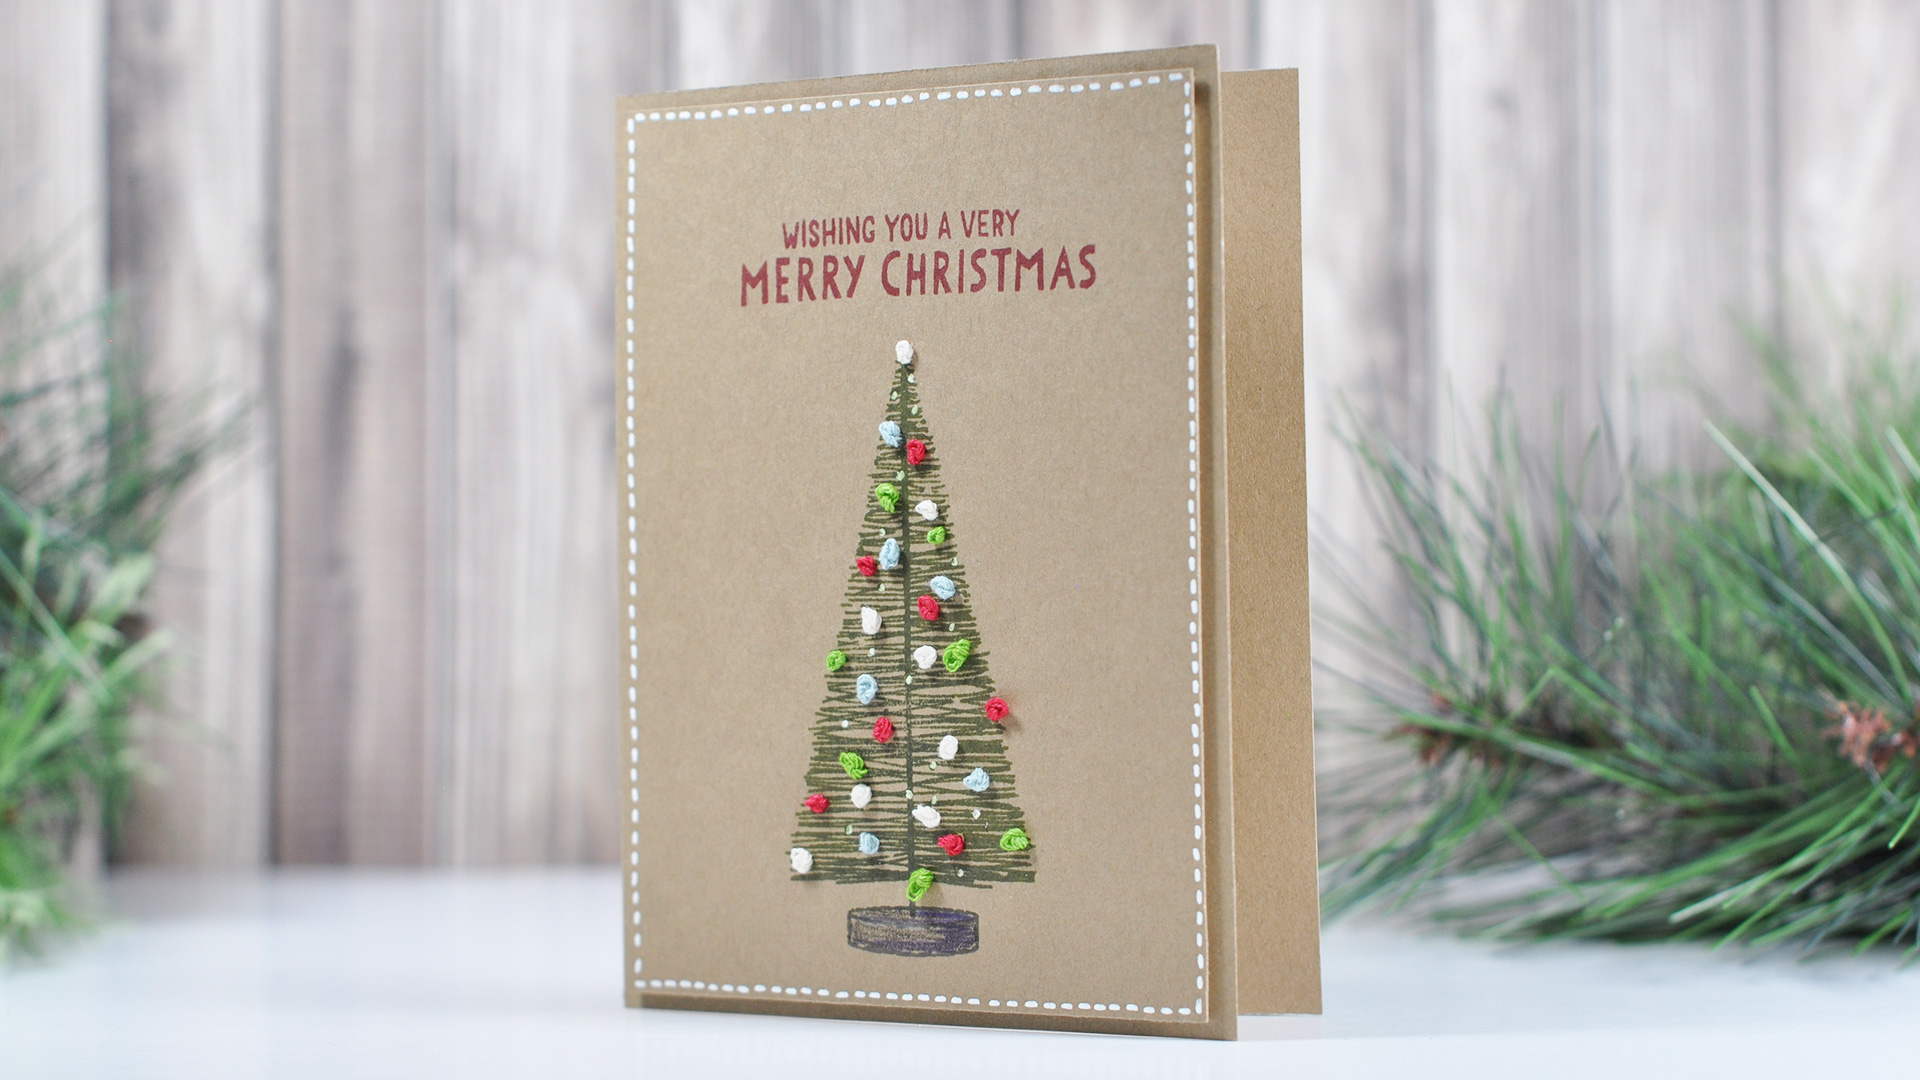
Welcome back! Today I have a fun and easy way to add a bit of dimension using a simple embroidery knot. This knot is called the french knot and it takes no time to create!

To create these knots you simply pull your string from the back of your project to the front, loop the string around your needle twice, and pull the needle through the same hole you used back to the other side of the project. I’ve got a quick video on how this project came together.


Here’s another look at the knots up close. It really looks like you put in a lot more effort than you actually did. It also doesn’t require that you hand-tie a bunch of knots. It’s definitely one of those types of looks that makes someone wonder how exactly you created it.

This type of knot is a great way to add some embellishment to your stamped images. I hope you give it a try!

Holiday Cards – Day 7

By Cards

Hi All,

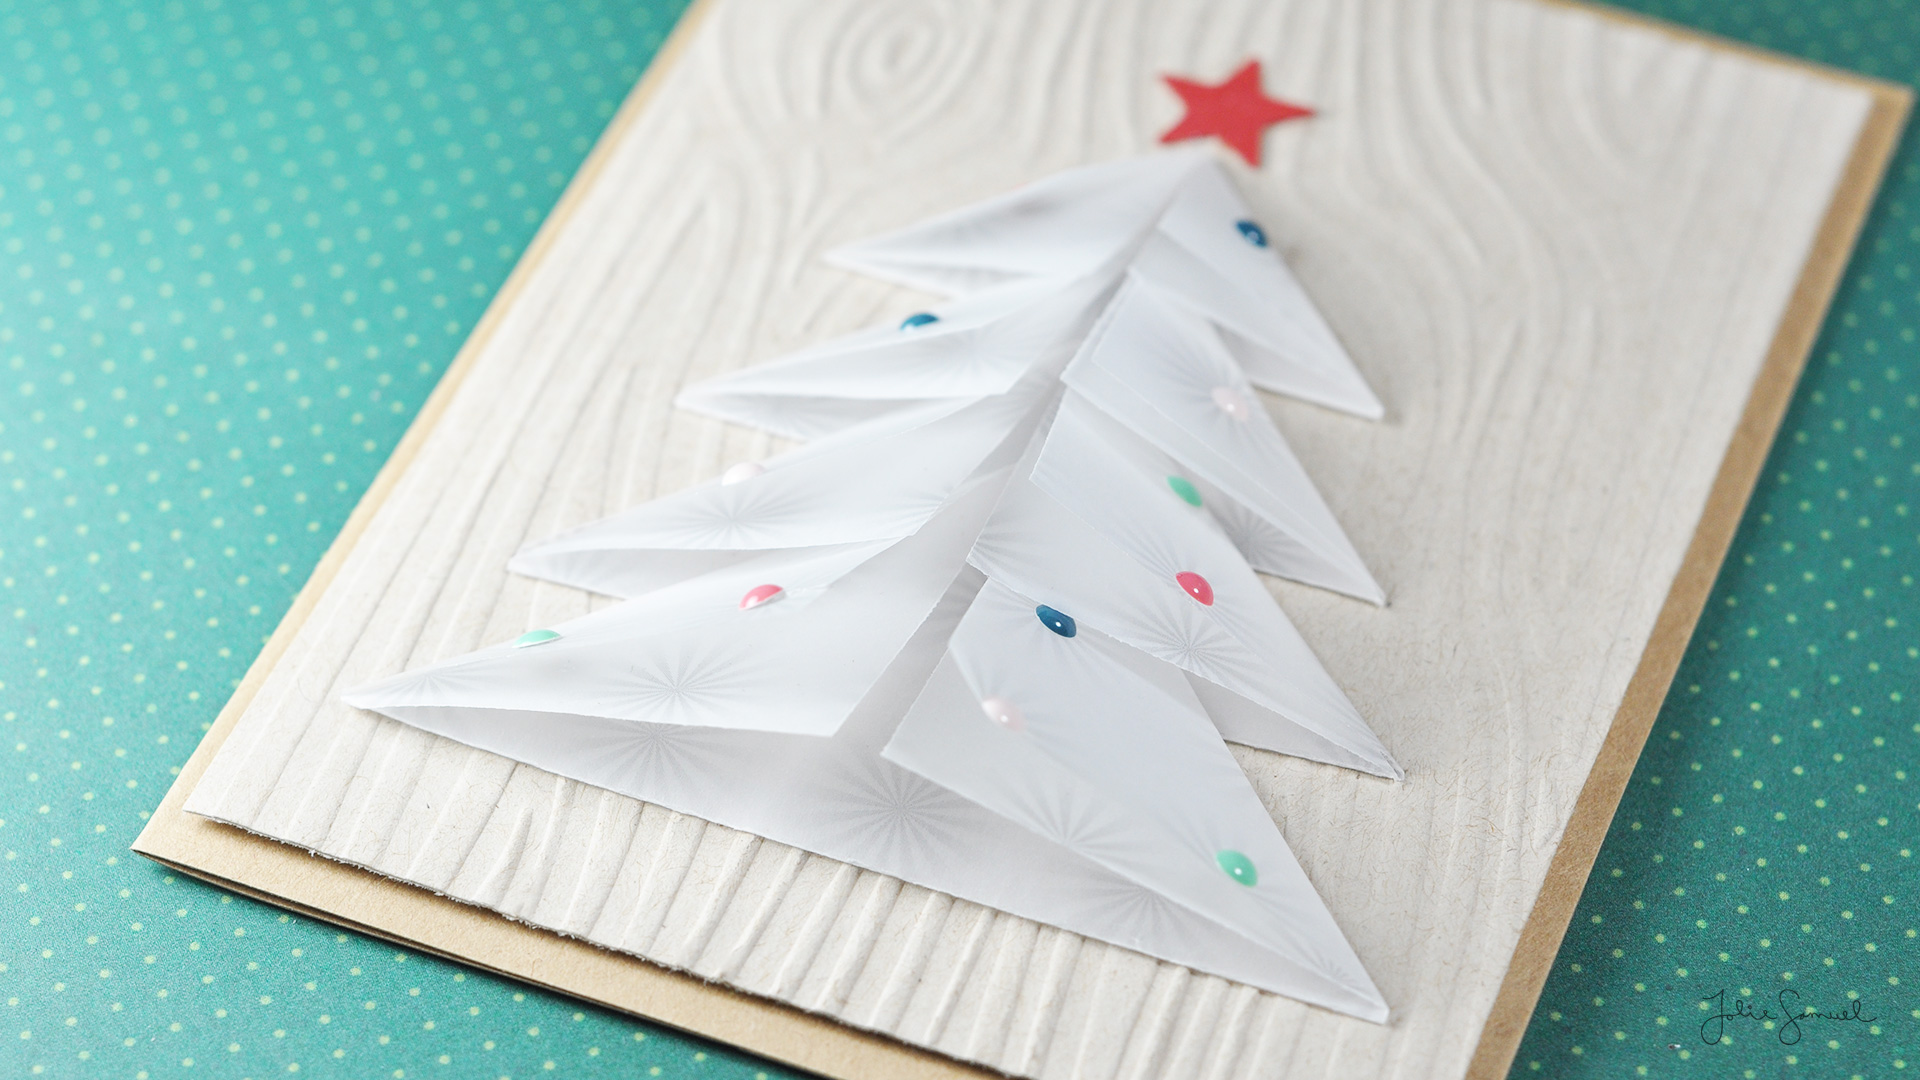
Welcome back to a new week of Holiday Cards for this 2017 season. I am on day 7 and have a simple card idea that really anyone can do. All you really need is some basic paper supplies and maybe some pencils or markers to decorate and you too can create this type of card.

To create my card I used some printed vellum I have had in my stash for quite some time. It actually comes from a valentine’s themed stack from Cosmo Cricket. It was from a release a few years ago and I think is now entirely out of stock. I think vellum or a thin paper is actually best for this type of project.

First, you’ll need to cut down your paper into a few squares. Mine was 3, 2.5, 2, and 1.5-inch squares. I then folded my paper in half and then folded the corners up to the middle fold line to create triangles.

You can see how quickly this card came together here

I hope you give this type of card a try. You could even change the overall dimensions to make this a fun gift tag to add on top your wrapped gifts this holiday season.

I hope I’ve inspired you to get a little more handmade with your holiday gifts this year – I always like to mix in handmade with my gifts each season.

I’ll be back tomorrow with another holiday card and I’ll see you again real soon.

Holiday Cards – Day 6

By Cards

Hi All,

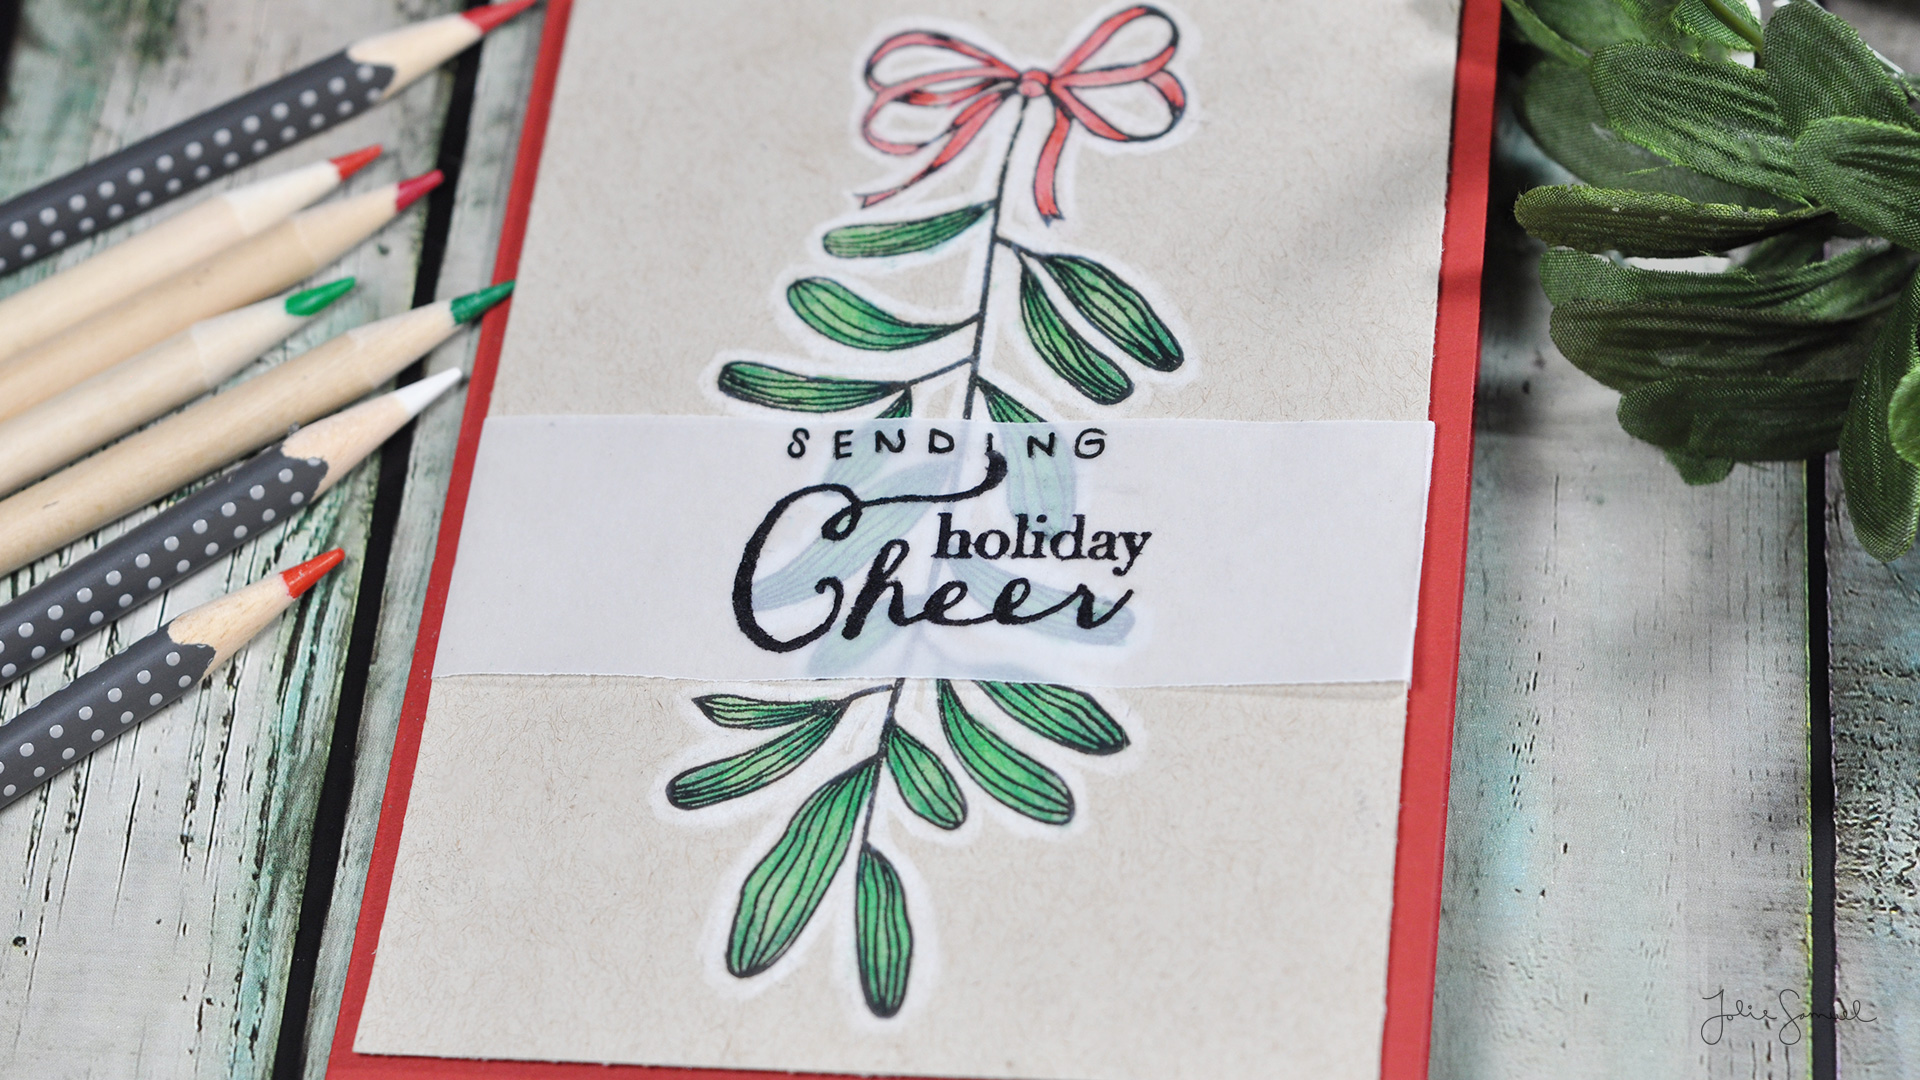
I’m back with another holiday card to share with you. Today’s holiday card was rather simple to make but did take quite a bit of time in terms of coloring. I wanted to spend some time practicing my blending technique with colored pencil and decided to use that as my main medium today.

After coloring the entire image, I used a white pencil to go around the entire outline of the image. I think that really finishes off the coloring and makes the image pop off the page. I also love the look of colored pencil on kraft paper. It looks much more refined this way than simply having it on white.

To finish off the card I used a vellum strip with a holiday sentiment. I wanted to use vellum so that I wouldn’t have to really cover up any of my images. I love the way it still peeks through the sentiment and can be seen.

Here’s a look at how it all came together.

Here’s another look at the finished card.

Thanks so much for stopping by and I’ll see you again real soon with another holiday card!

Holiday Cards – Day 5

By Cards

Hi All,

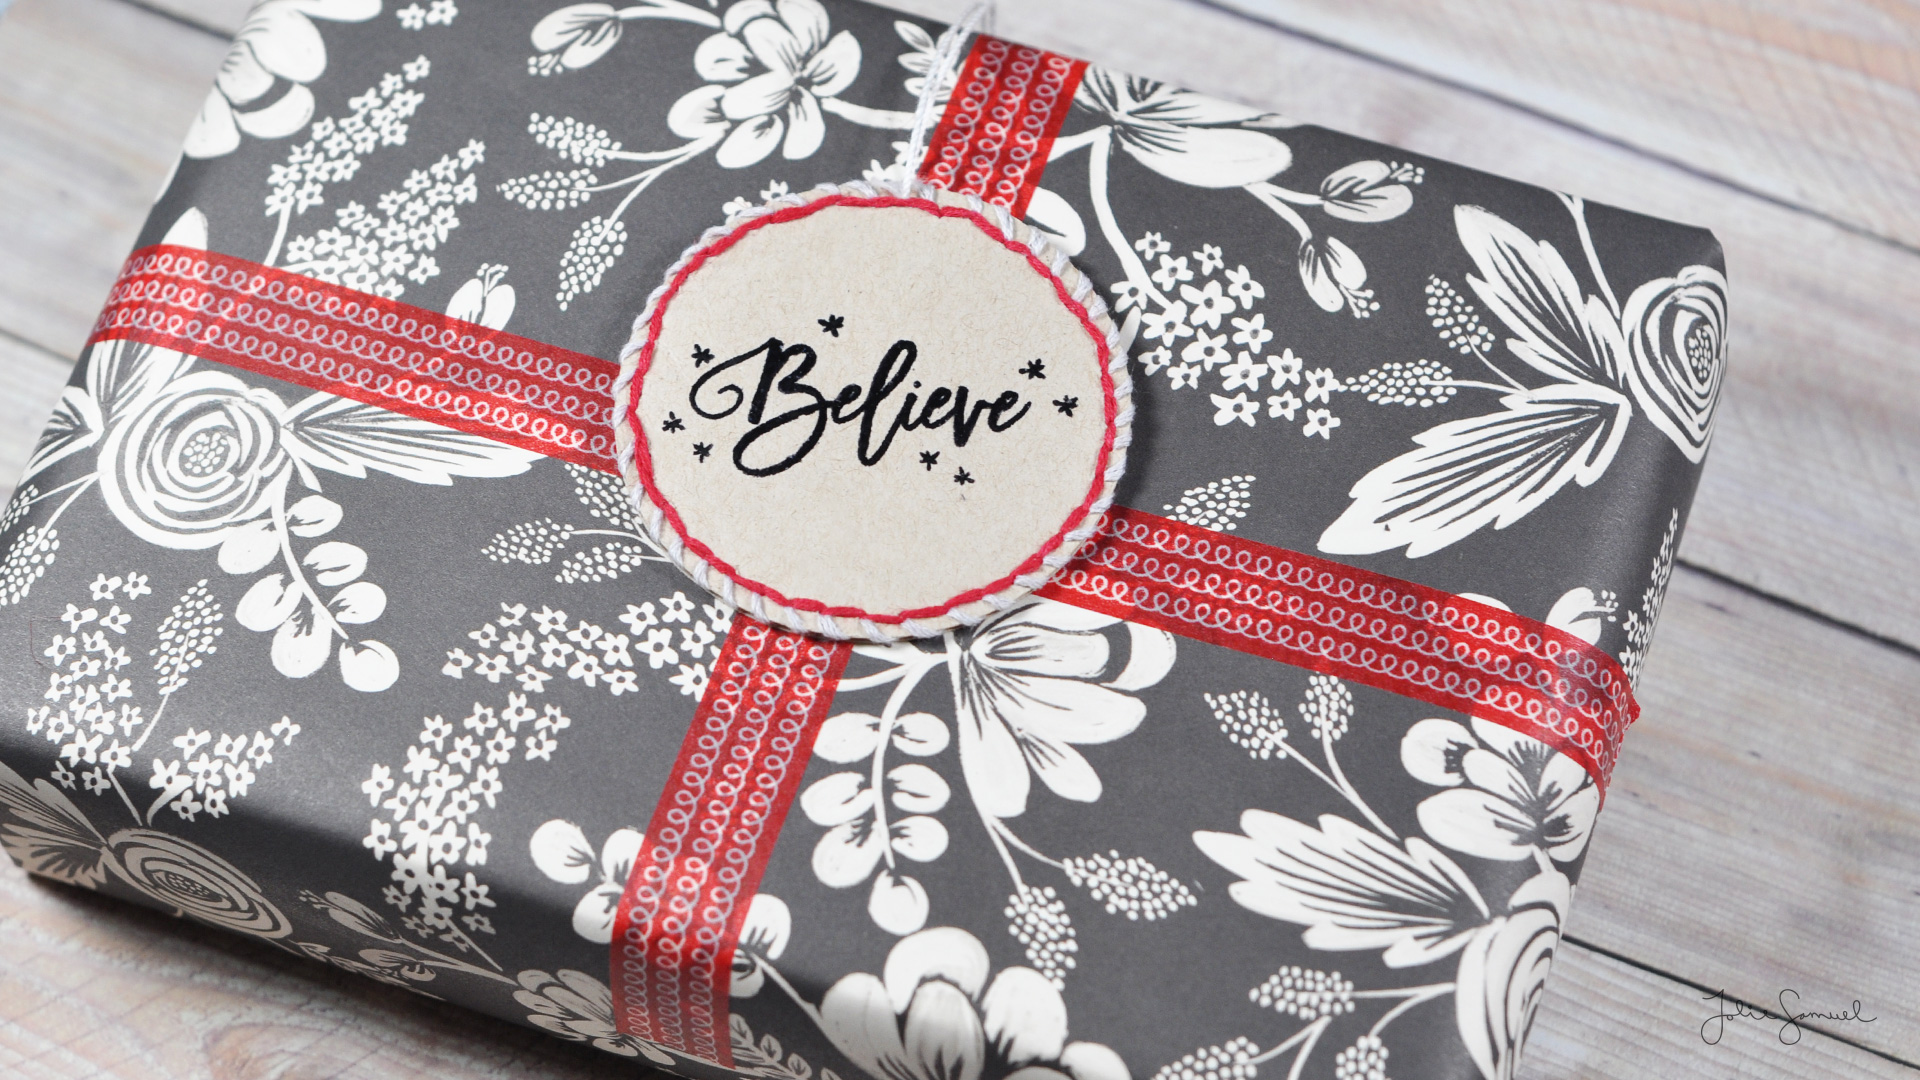
I’m back with another holiday project to share with you. Today I switched things up just a little bit and decided to create a trio of embossed and stitched tags for my holiday gifts this season. I love using tags and ribbon to tie off my gifts. This time around I gave it a twist by using some of my washi tapes in lieu of ribbon and added a stitched tag to the gift instead.

I think this is a fun and creative way to label gifts for under the tree and really just uses supplies many crafters and households have on hand. It seems washi is something many people have now as a staple to their office supplies.

Here’s a quick look at how it all came together.

Here’s a look at the trio of tags I created.

Thanks so much for following along with the series, and I’ll see you again real soon with another holiday project for this 2017 season!